Altimeter Bay
Mounting the Altimeter


Precision position.  A crude way to get standoffs in the right places.  

But being exactly right has it's problems.  Increasing order in one spot always decreases order elsewhere.  It's the law.  

So If I want my altimeter bay to be neat and tidy, I have to make chaos in another spot...right?  

Right.  First time I mounted an altimeter on a board was a good example.  
I was painfully precise in measuring and marking the spacing for the four little screw-holes on the altimeter.  Used a caliper, double-checked everything, punched the spots, lined them up on the drill press vise, and drilled the holes "exactly" where they should be.  

The result was "interesting."  The standoffs were in appromately the right spots, but not precisely.  The gods of chaos had intervened.  
Mounting the altimeter was an ordeal.  I had to bend, coax, loosen, shift, nudge and threaten the screws to get them into their respective sockets.  
Not ideal.

Then I bought a set of Forstner bits.  It was a revelation.  
I was able to drill precise, clean-sided, flat-bottomed holes in wood, in a variety of sizes.  
I drilled holes just for the fun of it.
Playing around, this idea came to me.

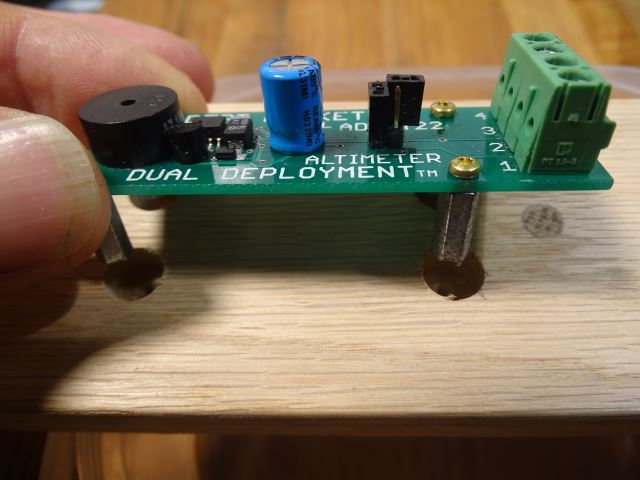
1.  Mount the standoffs on the altimeter itself, so that it stands like a table on four little legs.
2.  Mark where the legs stand on the alitmeter bay sled.
3.  Drill big holes at those spots.  Make them way bigger than the standoffs.
4.  Fill the holes half-full of epoxy
5.  Lower the standoffs into the holes, still attached to the altimeter.  That way the PC board itself is holding them in exactly the right position.
6.  Prop the altimeter sled and the altimeter itself so they are both level.
7.  Wait for the epoxy to harden.
8.  Remove the altimeter, and fill the holes the rest of the way with epoxy.

That's probably enough for all you Einsteins who will read it.  

But I'm photo-enabled and thus photo-compelled,
so here is a long, picturesque version:  

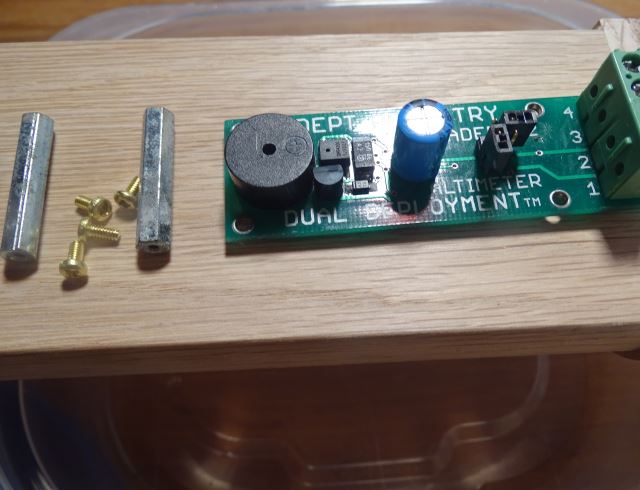
001-parts-on-boardOn the left are two 2-56 brass standoffs from McMaster-Carr.  
They are one inch long, approximately twice as long as needed.
But that's a good thing.  They aren't real cheap, about $1.00 each.
I'll cut them in half, so two of them will be enough to mount this Adept altimeter.

These particular standoffs have been sitting in my box for several years, and have acquired some "character."  
I scrubbed off the loose character with fine sandpaper, so now they are clean, if still ugly.
No biggie, they will be mostly hidden in the final product, and the epoxy should stick OK to the sanded surfaces.

Many altimeters use 4-40 screws instead.  
I prefer these larger screws.  They are easier for my gorilla fingers to grasp.
But since this one uses 2-56, I don't argue.  Deep Breath.   Go with it.  Use my tiniest pinchy-fingers and with a little fumbling, I can grab them. 
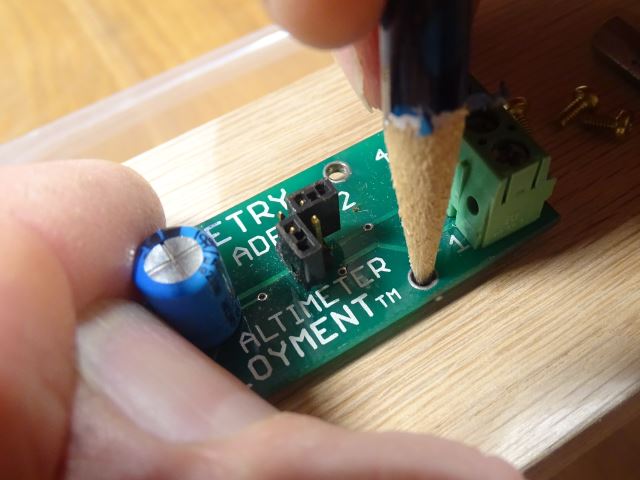
010-marking-through-holeHere is one way to determine where the holes should go.  

Hold the altimeter itself in the desired spot, and poke a pencil through each hole.

That will make a mark in the right place, no ruler required.

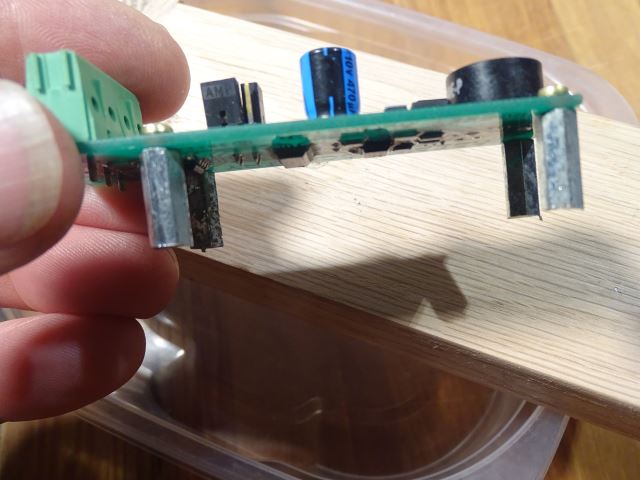
020-half-standoffs-on-altimeterThe standoffs have been cut roughly in half with a vise and hacksaw.  

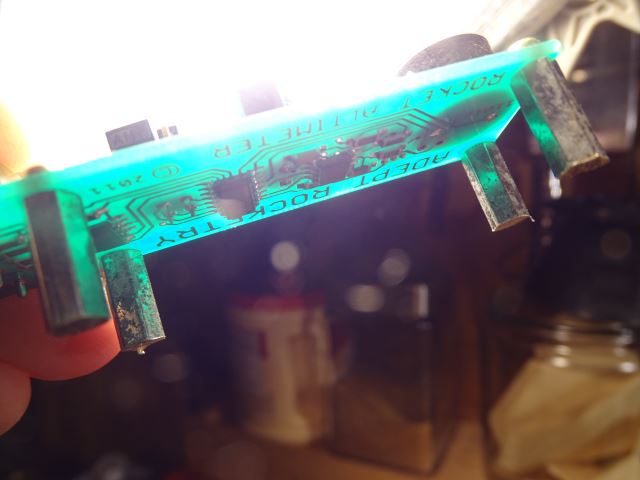
030-half-standoffs-on-altimeterSame item, backlighted.  

Note that the cut ends of the standoffs are uneven, and have little tags of metal hanging off.  

Good! This method thrives on diversity.

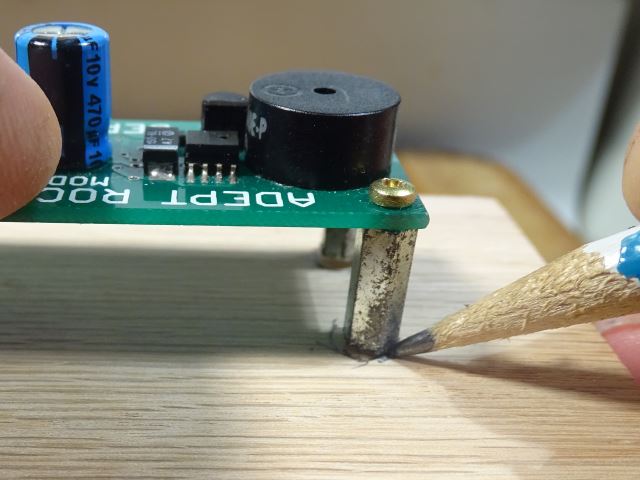
033-tracing-around-standoff
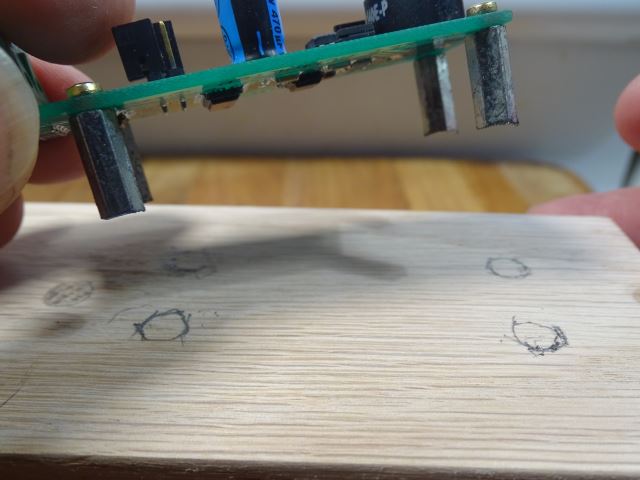
036-traced-around-standoffs
Here is another, perhaps better way to figure out where the holes will go.
The PC board "table" is set on the base where it is intended to go, and a pencil used to trace the spots.

Ugly marks?  No problem.  They will be drilled away soon, and nobody will ever know.

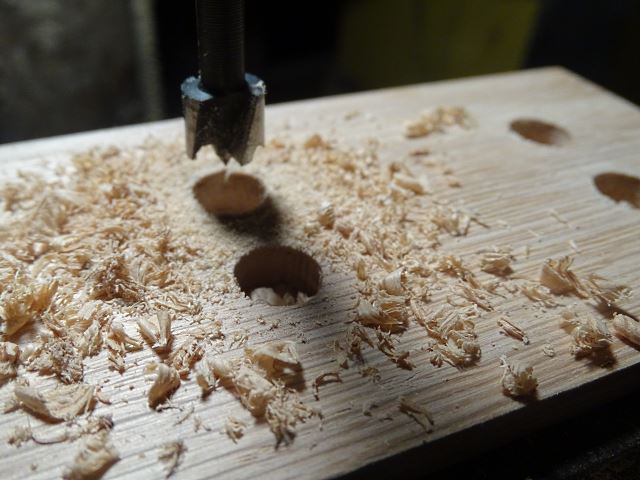
040-holes-drilledTo the drill press!  Each spot is drilled out with a 3/8ths inch dia Forstner bit.  


Each hole is drilled 3/8ths inch deep.  
That is the depth of the head on this bit, so it's easy to judge.

Don't have Forstner bits? Get some!  
They drill very clean, precise, flat-bottomed holes in wood, and the brad point allows precise placement.

But other bits can be used in a pinch, they just aren't as clean and polite.


042-standoffs-above-holesBlow the dust off, and each standoff now has it's own hole...

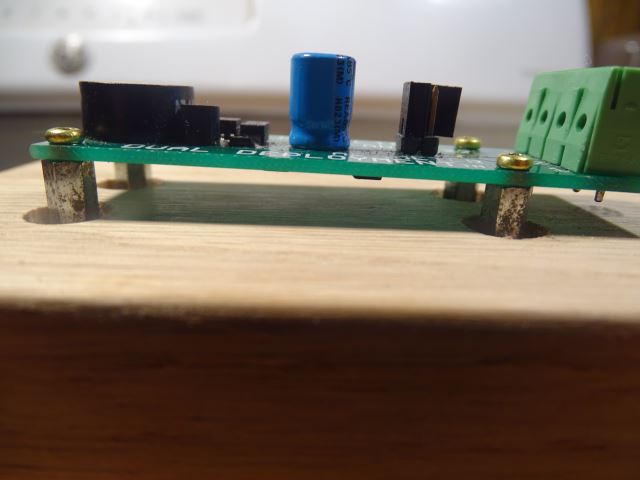
044-uneven-standoffs... but they are uneven!  The board does not sit level at all.  

Not surprising, considering the rough cutting and drilling done so far.

How to fix this problem?  Throw money at it!

046-stack-of-coins
Remember change?  Before the days of debit cards, when money was "real?"  

I do.  I still have my life savings in a mason jar.

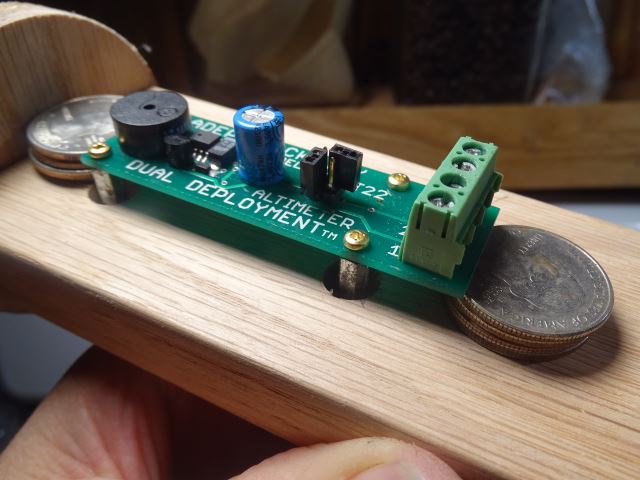
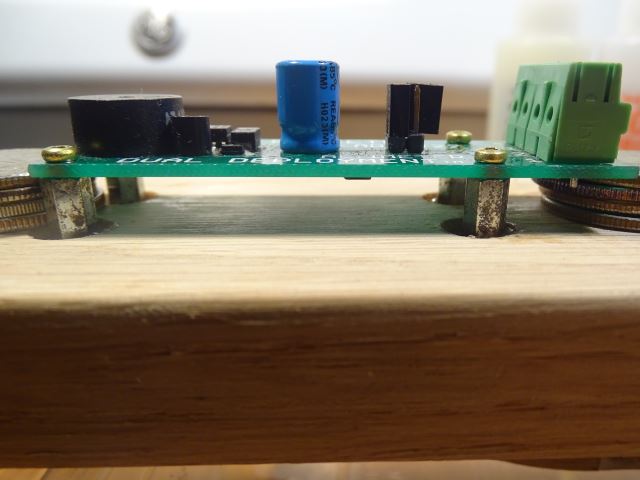
4 quarters props this altimeter up nice and level, with 1/4th inch or so of standoff going into each hole.

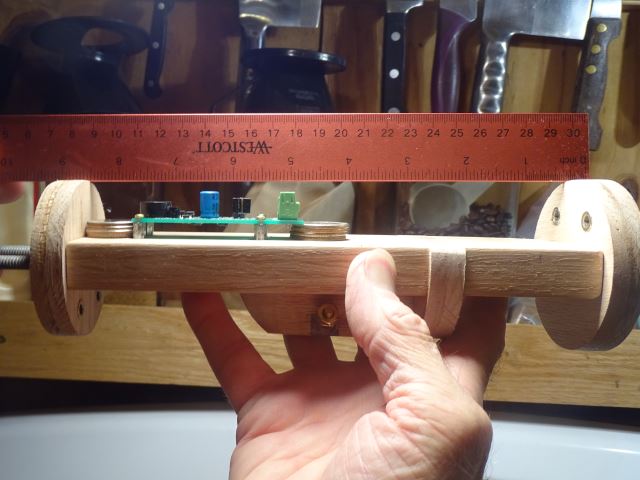
047-check-clearanceBefore gluing it up, I check the clearance with the centering disks.  
This altimeter is kinda tall and I've mounted it high.

Fortunately, there is plenty of clearance.

If not, I could drill the holes a little deeper, or file down the bottom end of the standoffs.
This would save money.  It would require fewer quarters.

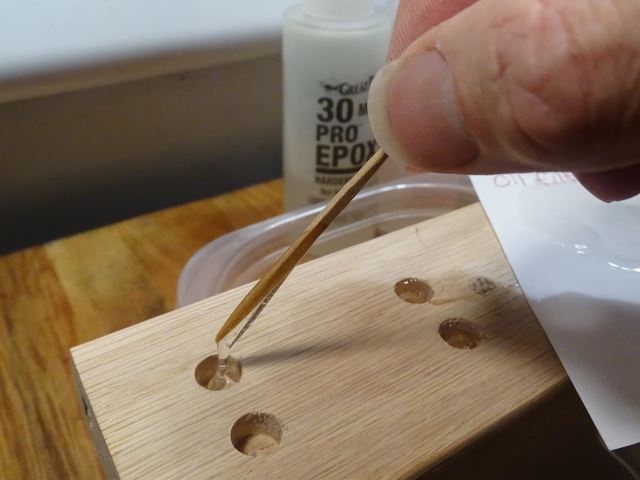
048-drool-epoxy
So how do we get precise placement of the standoffs with such sloppy work?  Fluids!
Each hole is filled about halfway with 30-minute epoxy.  

I don't use 5-minute epoxy much anymore, having realized that it absorbs moisture from the air.
We have a bit of humidity here in Florida, hovering about 100 percent most of the summer.
Any day when it doesn't rain, we wonder what is wrong.

5-minute softens after a few months, even if kept "dry."  
30-minute epoxy is much more resistant.

050-standoffs-setting-in-epoxy
The standoffs are lowered into their epoxy wells.  
Stacks of quarters prevent them going down too far, and keep the board on an even keel.
It is critical to avoid getting epoxy on the underside of the altimeter bay.  

The next time I mount one that lies so close to the board, I'll wrap it in plastic wrap.  
Maybe even the little anti-static bag that it comes in.

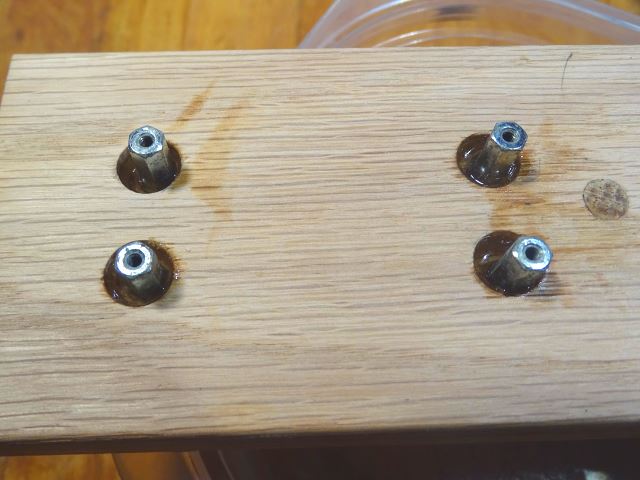
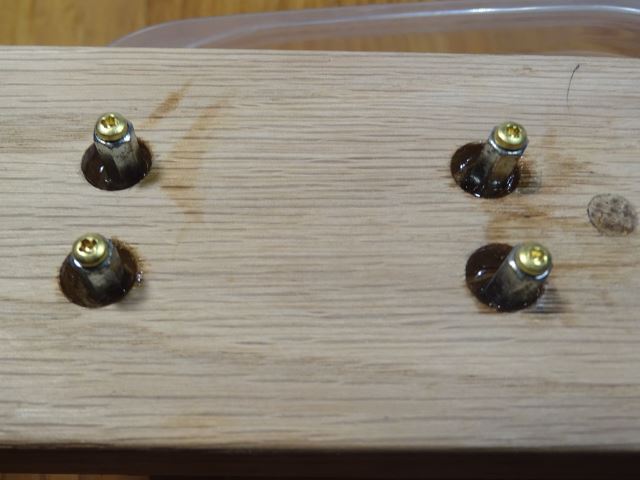
054-standoffs-after-settingAn hour later..

Now that the epoxy has set, I remove the screws and altimeter.
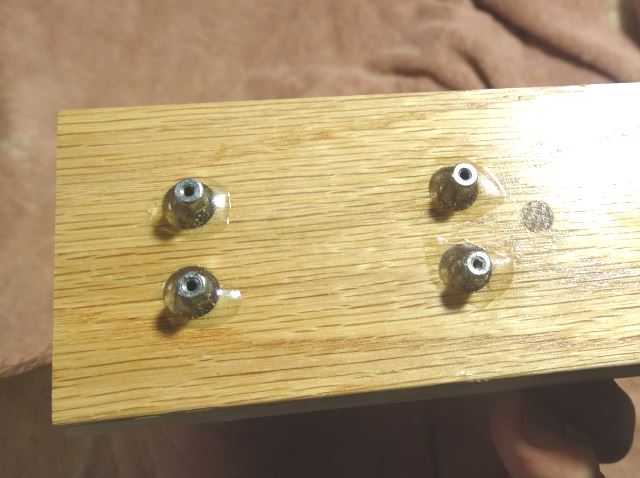
The standoffs are firmly fixed in the right position and orientation.

But the holes are ugly, not completely filled and irregularly so.
I will fix that by dripping more epoxy into each hole to fill it up.

I certainly don't want to dribble glue into those little threads.
Sometimes I cover them with a bit of masking tape, but today, I want to try a different trick.

058-standoffs-with-screws-640.jpg

So I put the screws back in.  That should keep the epoxy out, right?  Sure.  

But what about the screw heads?  
It would be a great pain to have to clean those out.  

Might be easier to replace them, but I hate to waste things.
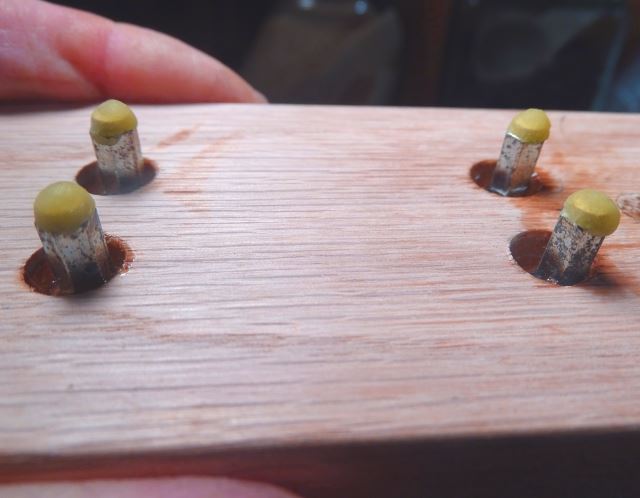
So I get to use my new favorite material... Beeswax!

I found a source that provides a pound of it for about $15.00.

060-standoffs-with-screws-and-beeswaxThis beeswax comes in little half-pellets, like yellow split peas.
Each one is about right for one "cap."  

Held between the fingers, body heat softens beeswax so it is moldable.
It's also a bit sticky, thus it tends to stay put.

BTW:  Paraffin - candle wax - works well too, it's just a little less pleasurable to put it on.

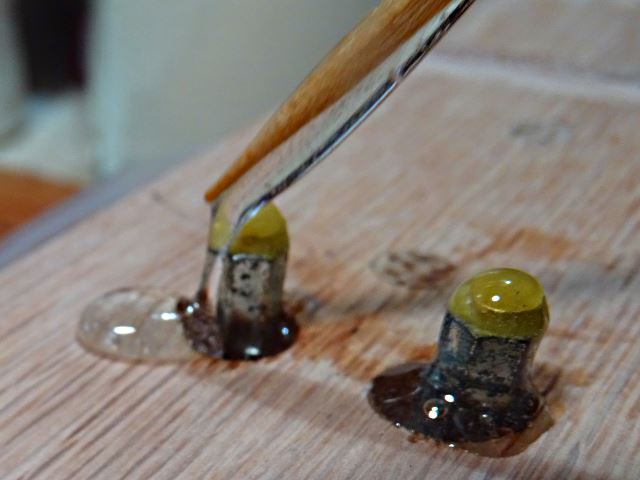
064-dribble-epoxy-fill-holes


Now I can dribble epoxy with wild, reckless abandon!

I used a bit too much abandon here.  

I can wipe off the dribblet, but it leaves an ugly smear.

No biggie.  Solution is pending.

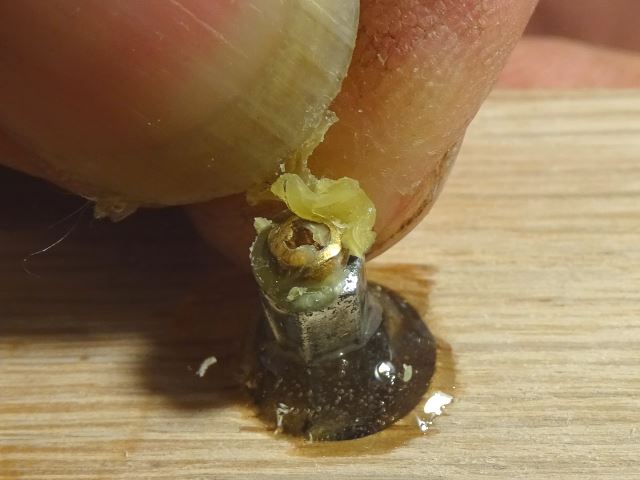
068-remove-wax

After the epoxy has set, the wax is removed.

A fingernail proves adequate, as there is only a very thin film of epoxy over the soft wax.

072-board-onboard-wax-epoxy-ugliesNow the altimeter  board remouts easily, solidly, and ugly.  

Some beeswax remains on the screws, and there are those horrible epoxy smears on the board.

076-clearcoated-board
Solutions:  Put the screws in an old can and pour boiling water over them.  
The beeswax will float to the surface.

Spray the board with clear lacquer, and the epoxy smears will disappear.
Varnish creates a uniform, attractive smudge.

A light hand-sanding and a second coat will make it even nicer.

080-board-onboard-finished

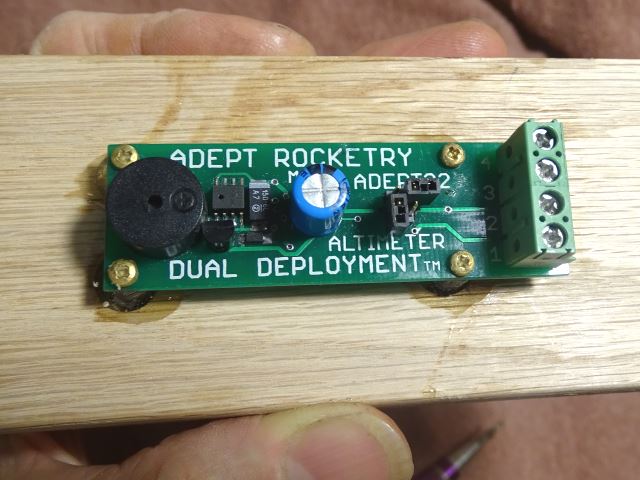
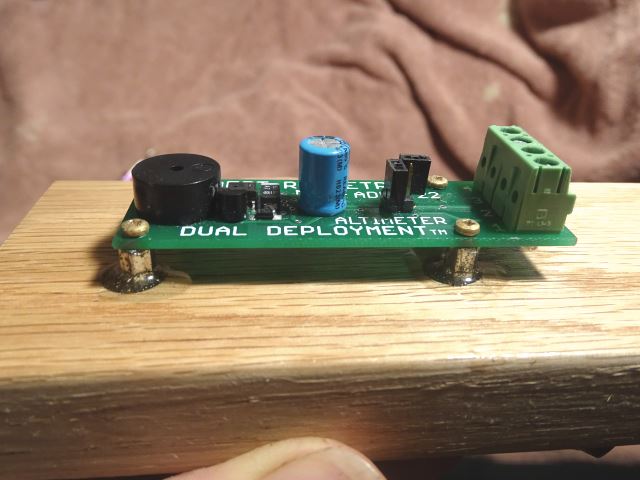
So here we have it.  The board mounts easily and firmly.  

No struggles to get the screws in the right places.

The standoffs align perfectly.  They had a great teacher, the altimeter itself!

Of course, this altimeter bay is unfinished.  
There will soon be a battery, a switch, and a maze of wires running to this board.

For flight, I will add lock-washers to these screws to make sure the altimeter won't rattle loose.  

And I'll use those quarters to buy a Coke at the next launch.  I'm sure the Scouts won't mind a touch of epoxy.

Jimmy Yawn
October 13, 2016
jyawn@sfcc.net