Water Rocket

Click on a small photo to view larger version
Contents of kit:
kit.jpgcaps.jpg
5 finsticks - 4 used on rocket, one is extra, in case of breakage
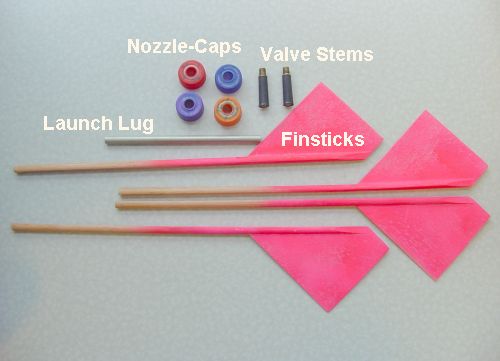
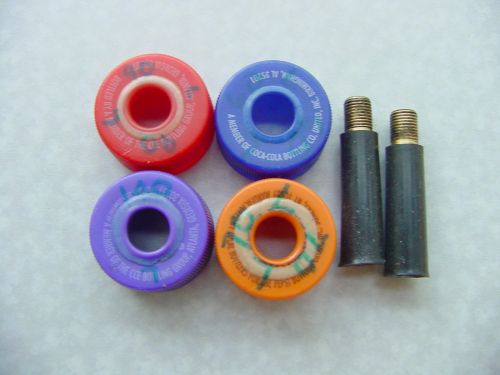
4 cap-nozzles - different release pressure ratings (psi) written on each
2 valve stems
1 aluminum tube - launch lug
Not included:
DSC00168.JPG
DSC00169.JPG
2-liter PET soda bottle
Duct tape (or other strong adhesive tape)
1/2 ounce weight for nose
1/4 inch smooth metal rod, at least 2 feet long preferably 3 feet
A skin-friendly lubricant like Vaseline or Palmer's hand cream
Funnel
Water
High-pressure tire pump (preferably battery-powered electric)
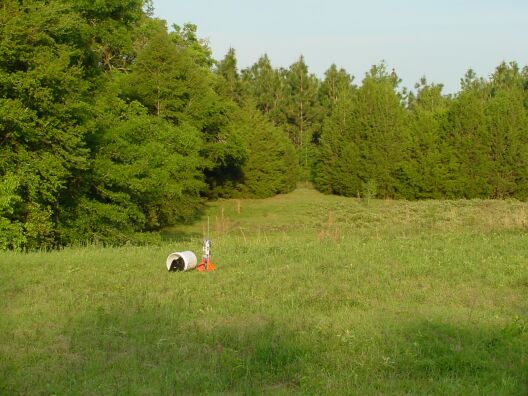
10-acre field
Assembly
Dsc00091.jpg
DSC00092.JPGDsc00097.jpg
Remove the label from the bottle.  Drink the contents if you must.

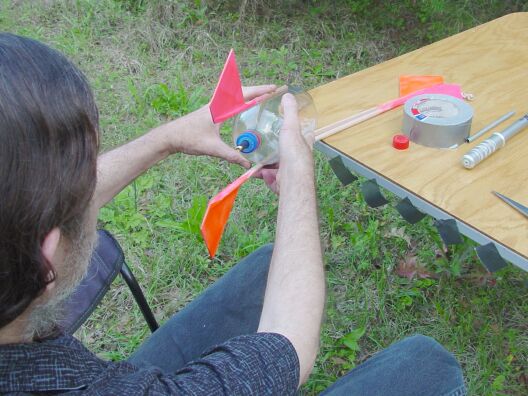
Lubricate a valve stem with a little vaseline.  It doesn't take much, just enough to make it feel greasy.  Insert the valve stem a into one of the nozzle caps until it seals the opening, and screw the cap onto the bottle.  Attach the air pump and inflate until bottle is rigid.  This makes it easier to handle and to get the fins taped on straight.

A hand-pump is adequate for this little bit of air, but not recommended for pumping to launch pressure.

Dsc00099.jpg
Dsc00102.jpgDsc00103.jpg
Dsc00104.jpgDsc00107.jpg
Cut 10 pieces of tape, each about 2 inches long.

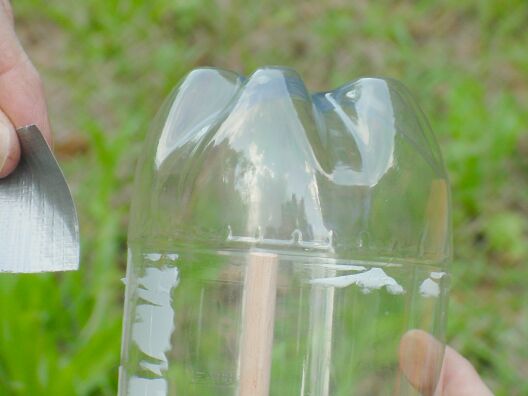
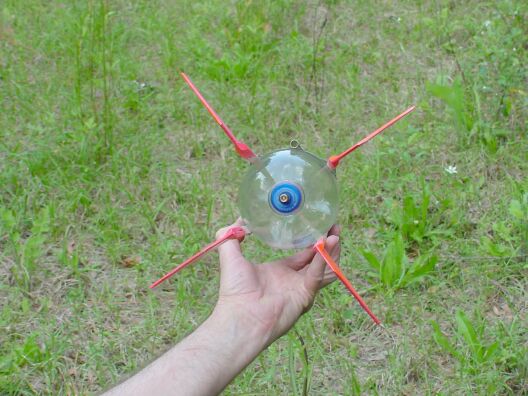
Tape one finstick on the side of the bottle using two of the tape-squares, and making sure to get it lined-up straight with the bottle.  Most PET bottles have an embossed ring near the base, just before it tapers off.  Place the end of the finstick where it just touches the ring, and apply a piece of tape. 

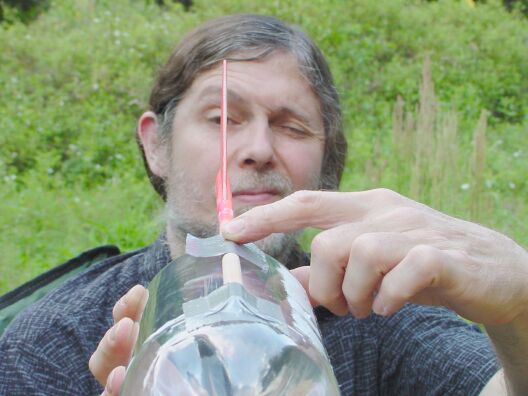
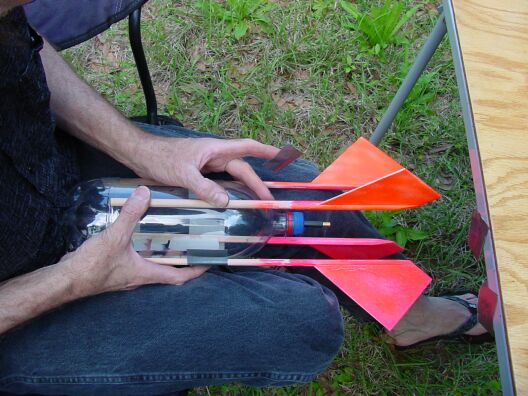
Sight down the bottle, get the finstick as straight as you can.  Secure the stick at the middle with another piece of tape, just before the bottle starts tapering off to the mouth.  The set-back of sticks from the very end will ensure that the fins are evenly placed fore-and-aft, and will give them a little cushion when the rocket descends.


Dsc00109.jpgDsc00110.jpg
Dsc00111.jpgDSC00120.JPG

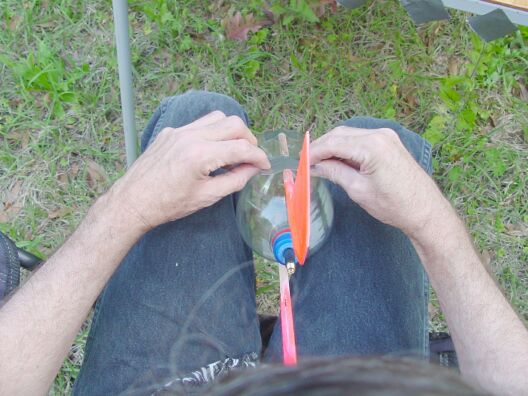
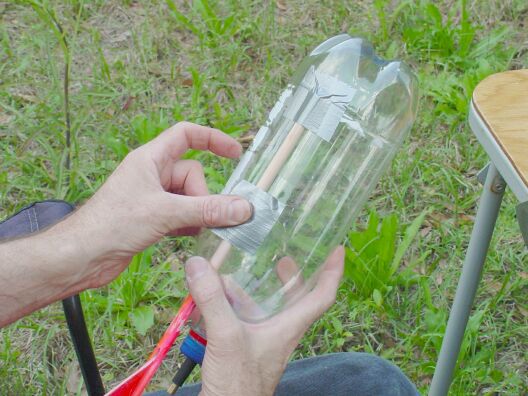
Attach a second finstick opposite the first, then the third and fourth at 90 degree intervals.  Make sure that each is straight and aligned with the others at every step.
 
Dsc00127.jpgDsc00130.jpg Use the remaining 2 tape swatches to attach the launch lug midway between two finsticks.
Dsc00137.jpgDsc00141.jpg Wrap two strips of duct tape around the entire bottle.  One should go at the top, which used to be the base of the bottle but is now the nose of our rocket.  This strip should overlap the ends of the finsticks by 1/2 inch or so.  The second strip goes around the lower end of the bottle just before it starts tapering off towards the neck.

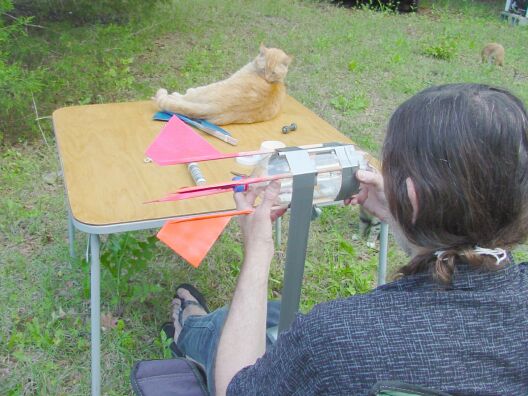
Stretch the tape while wrapping to make sure the tape goes on tight, but does not skew the finsticks out of alignment.  You might want someone to help - four hands work better for this than two, although I find it fairly easy to hold the tape roll between my knees and "roll" the bottle down.

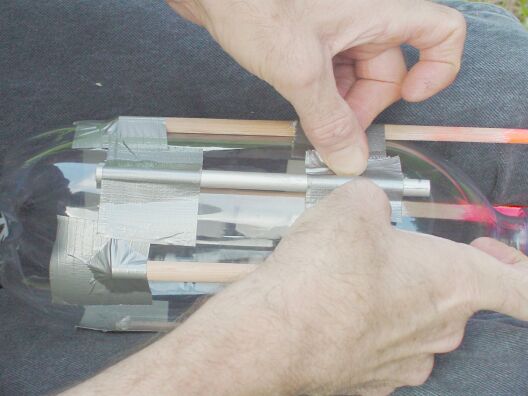
If tape covers either end of the aluminum launch lug, cut that bit of tape away.

Stability
Dsc00144.jpgDsc00145.jpg
Dsc00149.jpgDsc00150.jpg
The rocket might be flyable at this point, but some are unstable unless the nose is weighted.  If you test it as-is, do so cautiously.  Note any "wobble" on ascent.  Wobble means that the stability is marginal, and altitude will encrease with a little weight.

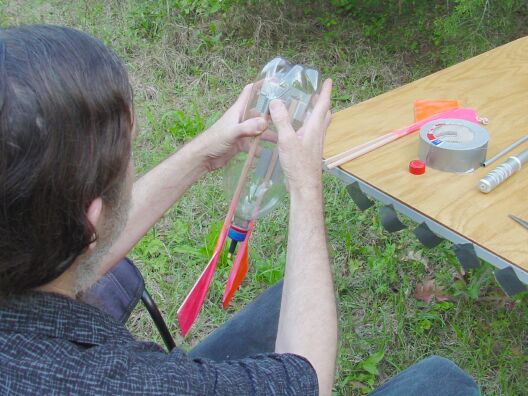
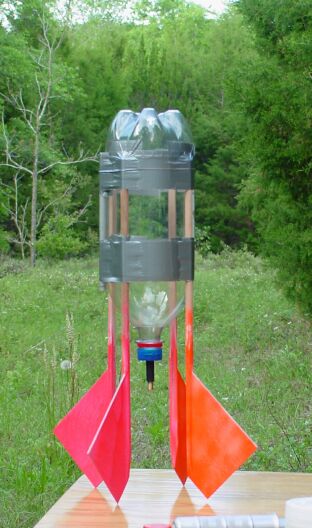
To enhance stability, I recommend taping a weight to the nose-end.  Most often, I use a large steel nut weighing 1/2 ounce or so.  Anything with a bit of weight should do, but it might be better to use something soft to enhance safety. 
 

Launch Preparation
Dsc00152.jpg
You should have a large field on which to launch.  These rockets can reach an altitude of 400 feet, do not always go where they are pointed, and come down with a solid thunk.  All spectators should be aware that a launch is pending, and those who are unable or unwilling to pay attention and get out of the way should be escorted out of the possible landing zone.  This zone can be large if there is any wind.  Vehicles could be damaged, especially if one uses a steel nut or other sturdy object for nose weight.
Dsc00154.jpg Fill the bottle about 1/3 with water.  The optimal amount for maximum altitude is yet to be determined, and may be dependent upon pressure, but it seems to be somewhere between 1/4th and 1/2 full.  Note how nicely the launch rod serves as a holder while filling.
Dsc00159.jpg Start with one of the low-pressure nozzle-caps, until you get a feel for how high and far these will go.  If your launch site is of limited size, you might even start with a 1-liter bottle and/or even less water.

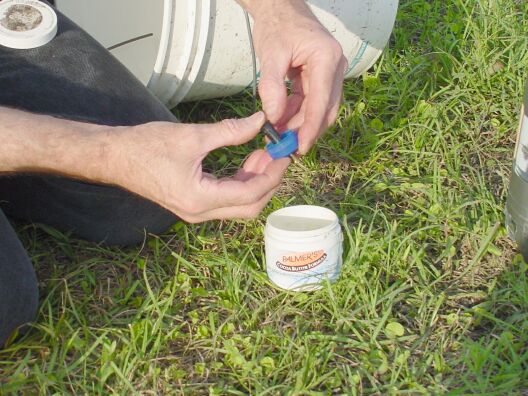
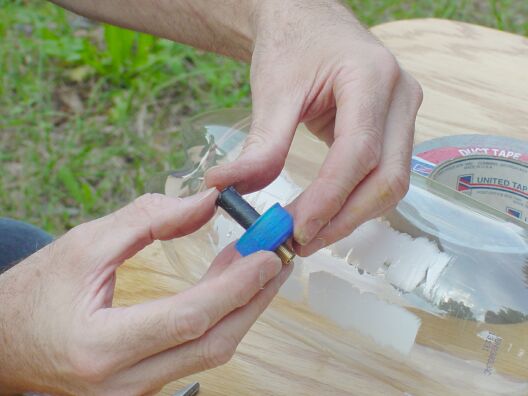
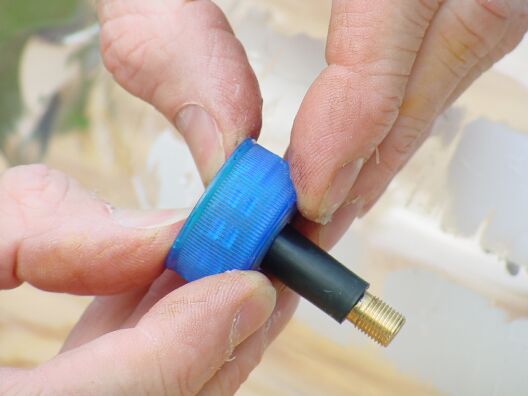
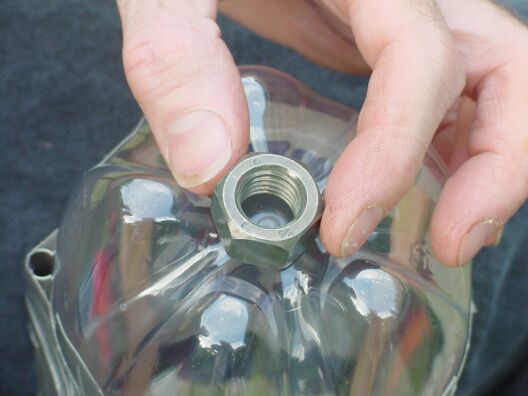
Smear grease on the valve stem, and insert it into the nozzle-cap.  Press it down until the cut end of the valve stem is almost flush with the inside of the cap, perhaps 1/4 inch from exiting.

Dsc00164.jpgDsc00165.jpg
DSC00166.JPGDSC00168.JPG
Screw the cap on the bottle, and slip the launch lug over the launch rod, which has been stuck in the ground or some secure holder.

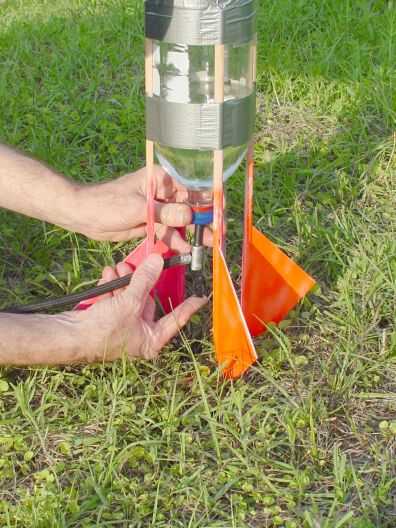
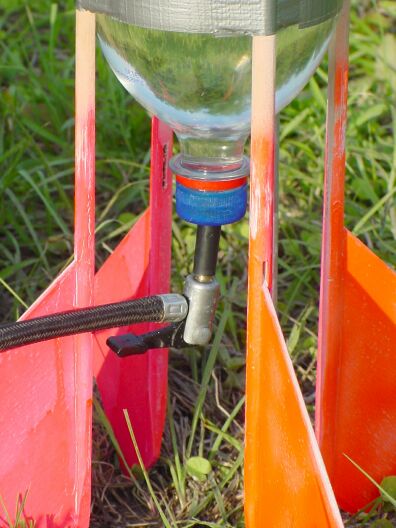
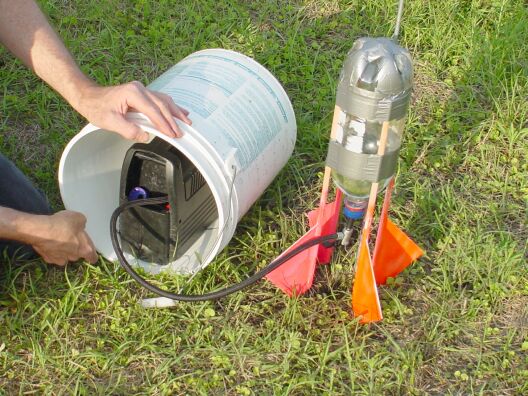
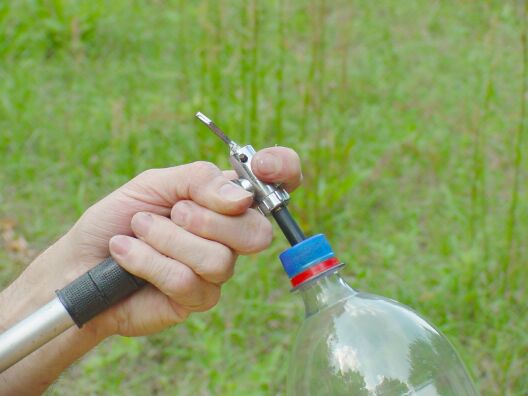
Attach the air pump clamp to the valve stem.  If you are using an electric air pump, cover it with something to keep the mud out.  (I had to repair mine once after a series of mud-baths.)

If you are using a hand or foot-pump, be sure to "lay low" so that you are not over the rocket when it launches, and that the air hose does not jerk the rocket sideways as you pump. 


Click Here to see this one launch!
(1.4 meg .mpg file, 15 seconds of video)
Retreat at least a few feet and wait for the rocket to launch. 

With my battery-powered electric pump, this can take as little as 30 seconds with a low-pressure nozzle, or up to 2 minutes with a high-pressure one.

I often use a stopwatch to estimate when the launch will occur.

Upon recovery, examine for damage, especially torn tape.  Repair any damage before launching again.
 

Jimmy Yawn
jyawn@sfcc.net
www.jamesyawn.com
4/7/03