Paper Tubes
Nothing glamorous here, just paper tubes. But such tubes are an
essential component of many pyrotechnic devices, including some of my smaller
rocket engines. Tubes can be purchased from a number of suppliers,
but I prefer to make my own. It is easy and cheap, and very good-quality
tubes can be made with a little practice. They can be made from discarded
copy paper - if there is printing on it, no big deal, unless confidentiality
is important. Making them also allows me to vary the size, weight,
and appearance of each tube to suit my purposes.
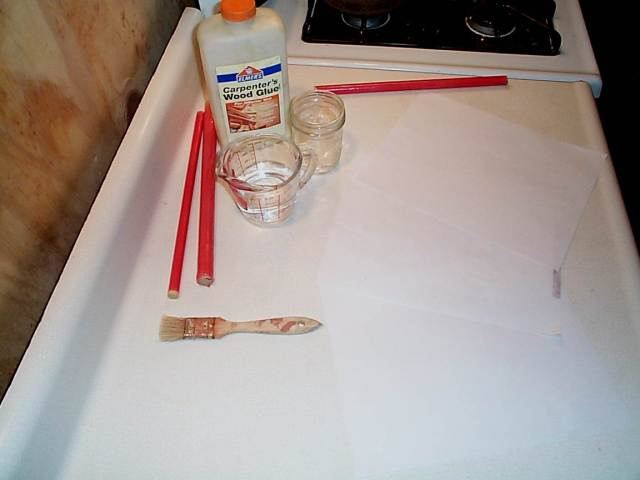
Materials:
Water-soluble wood glue (Elmer's, Titebond, etc.)
Letter-sized copy paper. Used paper is OK
Water
Elbow Grease.
Tools and Utensils:
Some kind of container to hold glue mixture
Paint brush, preferably a good one, 2 inches wide or so.
Water-impervious flat countertop, plastic laminate, glass, slate, or
well-varnished wood. The larger, the better.
Wet sponge and dry cloth for cleanup.
Cylindrical rolling forms
Plastic food-wrap
The forms:
Obtain a form that is just under the desired inside diameter of your
intended tube and a little bit longer. I usually use wooden dowels
in standard sizes. Other forms should work, such as PVC pipe, metal
rods or pipe.
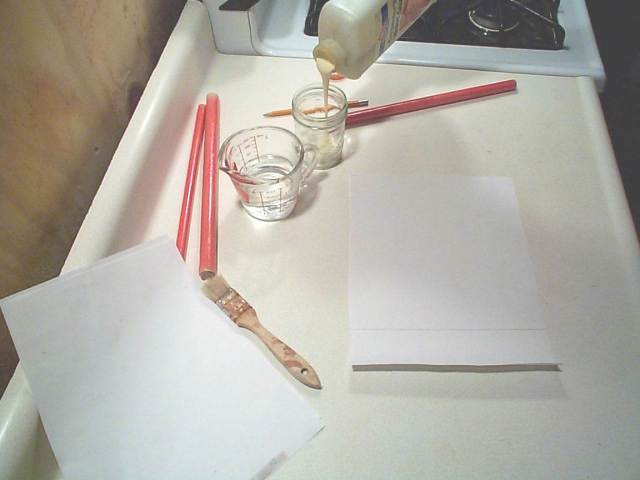
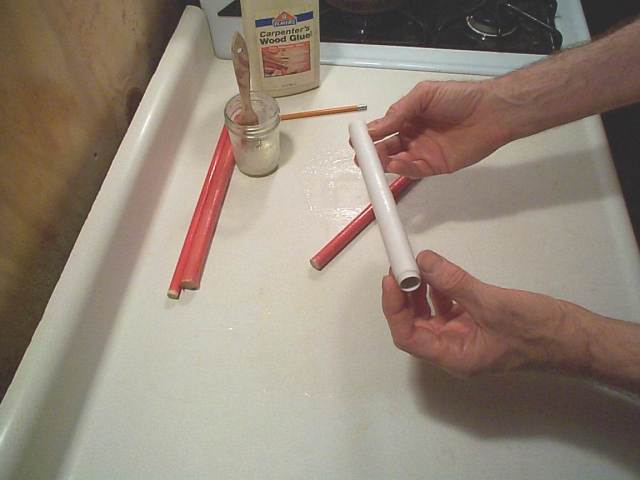
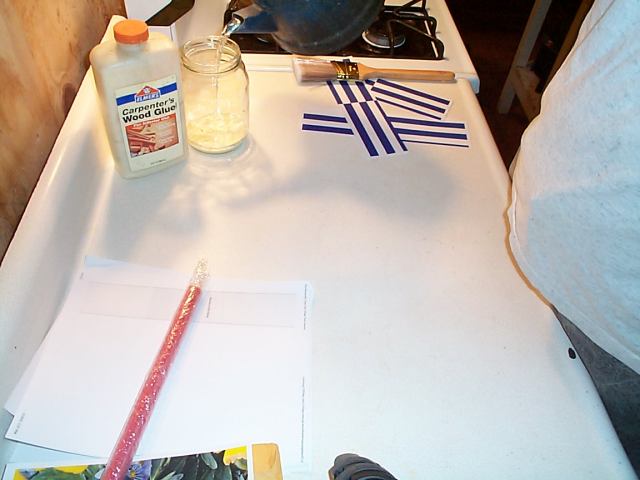
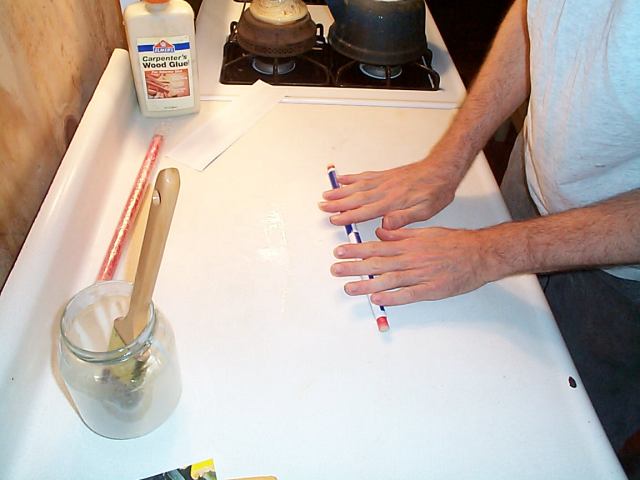
I use mostly 1/2 inch, 5/8 inch, and 3/4 inch hardwood dowels, cut about 1 foot long. These are wrapped with plastic food-wrap to prevent the glue from sticking to the wood. Here I have used the red-colored Saran Wrap. It shows up well, don't you think? I have also done this by covering the dowel with Scotch tape, which worked fine. The wide plastic box-tapes should work even better.
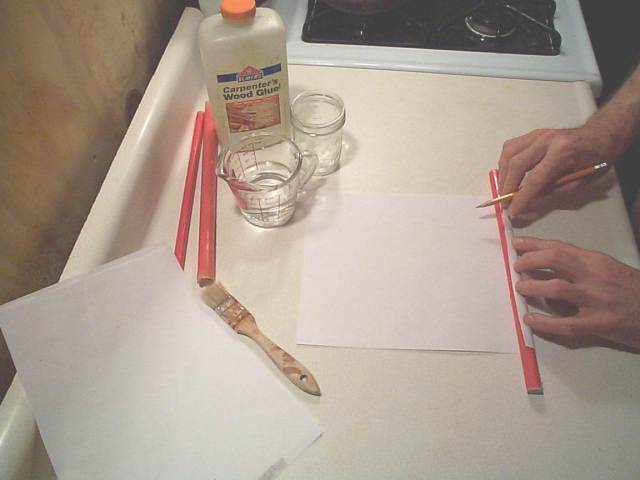
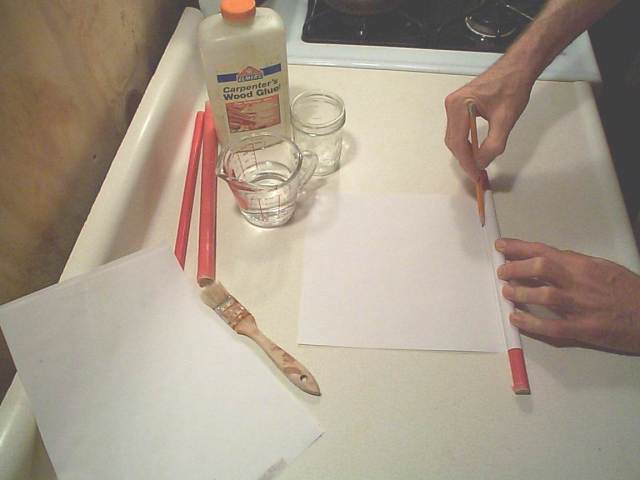
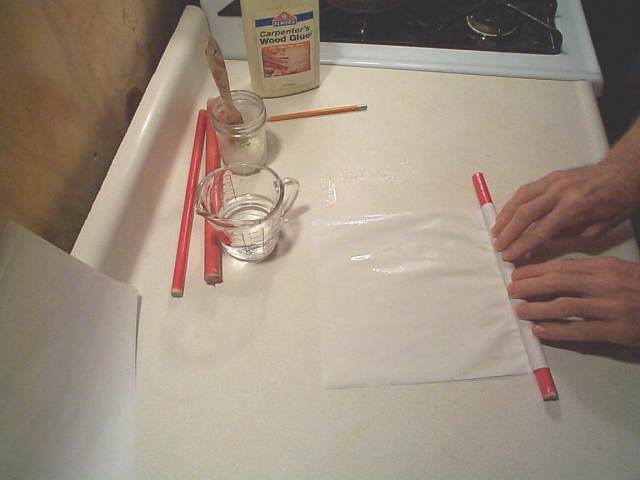
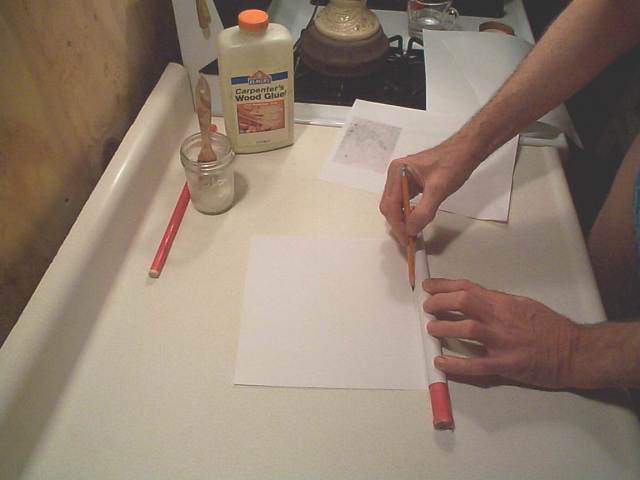
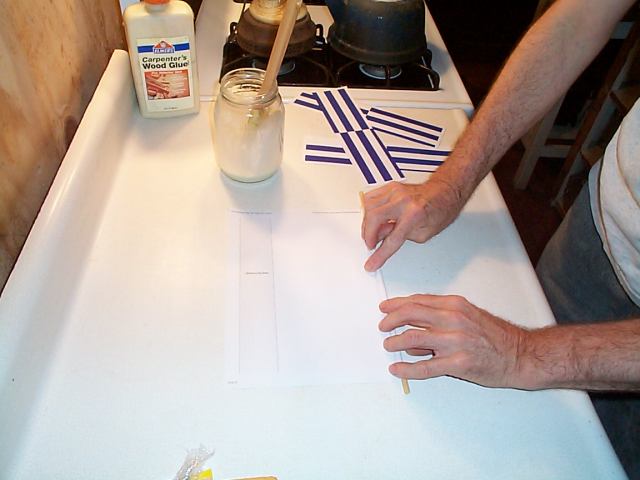
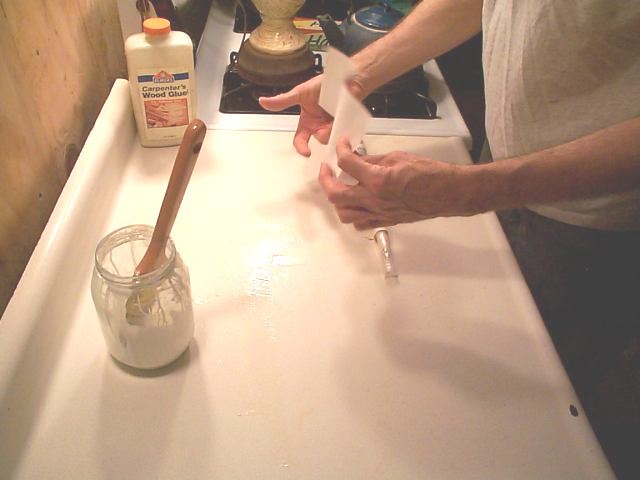
Here I get started by rolling a sheet of paper around the dowel until it just completes one turn, then marking the line. This is to keep me from applying glue where it will contact the dowel. Sure, I could use my calculator to figure out the circumference, measure and draw the line, but why? It is much quicker just to roll and draw.
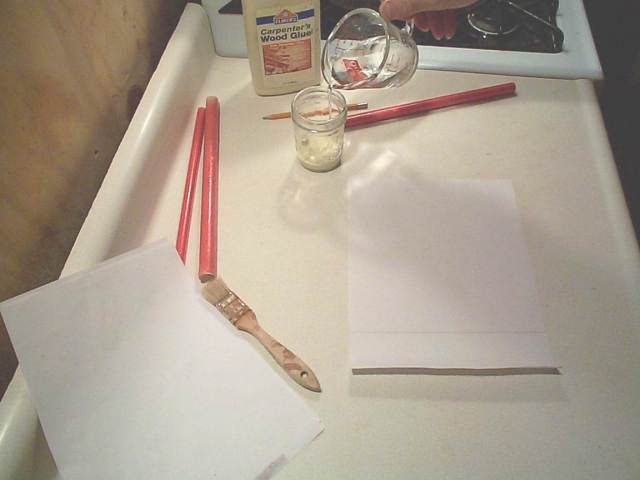
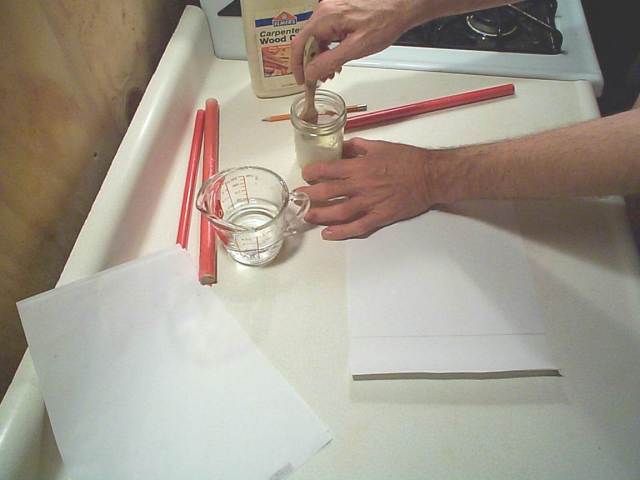
Now I mix glue and water, roughly 50:50 ratio by volume. I want it as thick as possible and still be spreadable with the paintbrush. You can use Elmer's white glue, just don't dilute it as much.
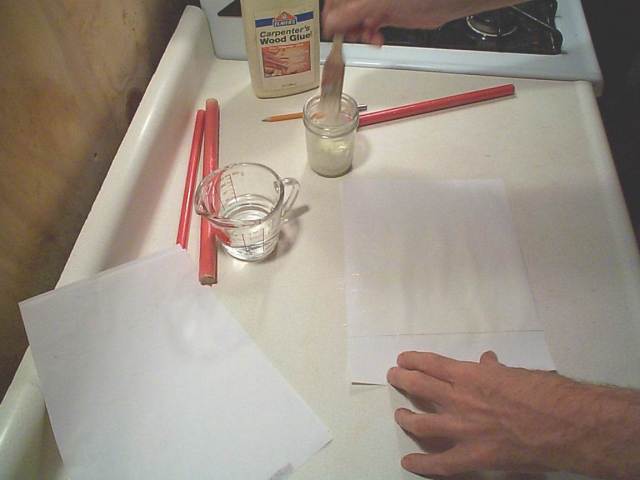
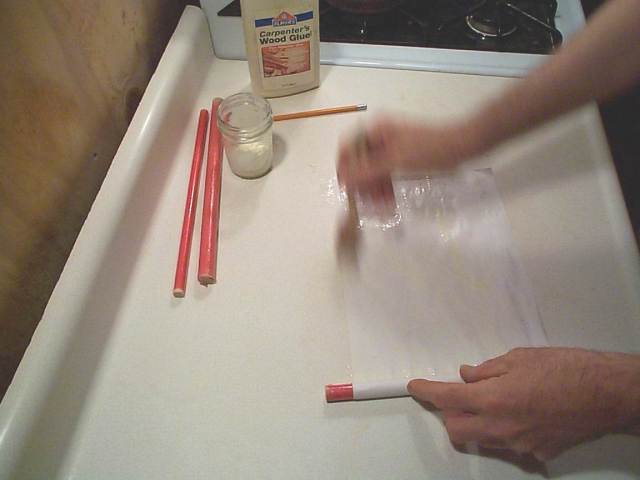
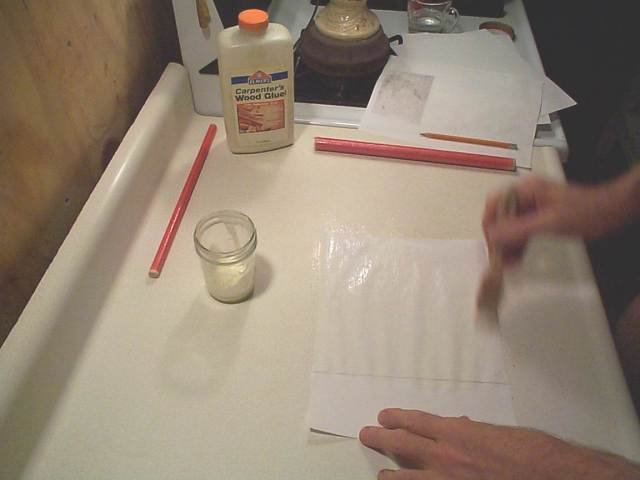
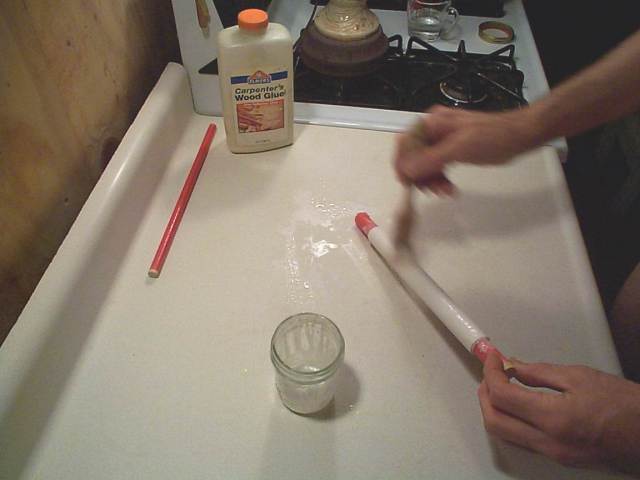
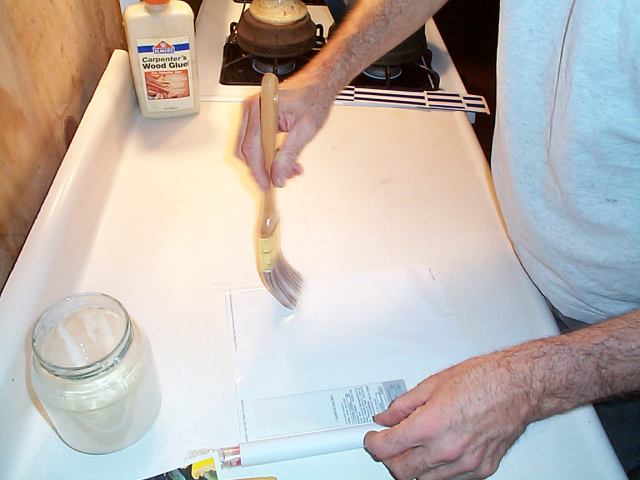
Paint the glue on briskly. I usually slather it on horizontally, then smooth it with a few vertical strokes to make sure every spot gets covered.
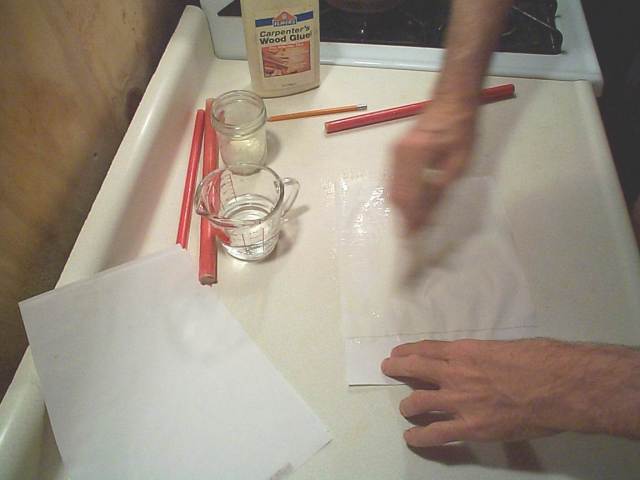
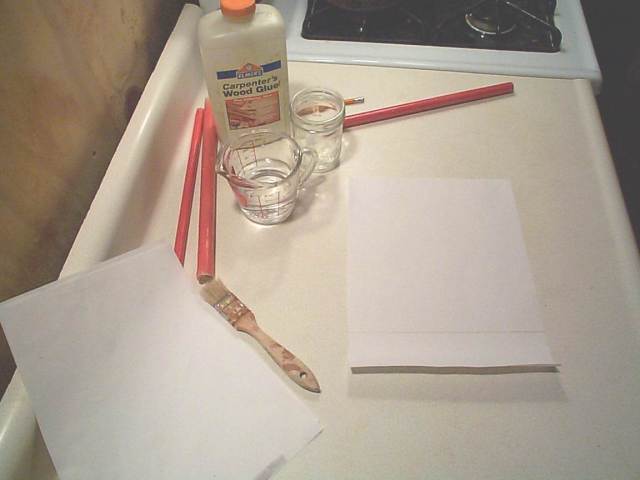
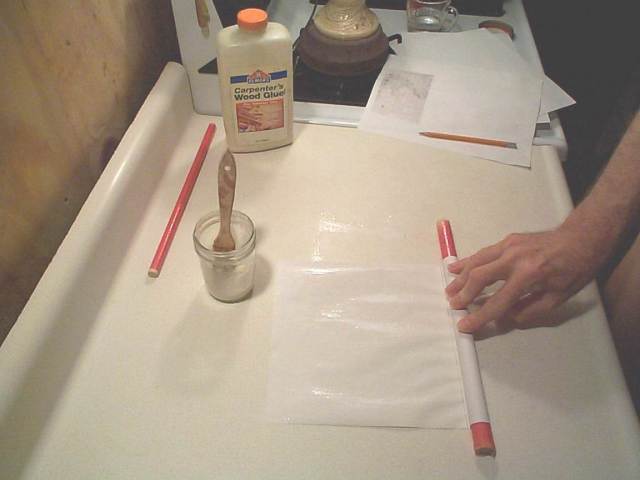
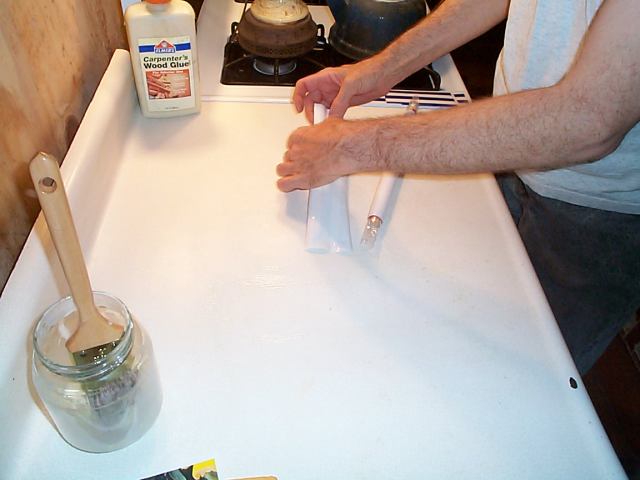
Place the dowel as straight as possible on the paper, tuck the first roll around, and roll it to within an inch of so of the end. Attach another sheet of paper to the remaining end, and repeat the glue-slathering process. Add as many sheets as you need, depending on how heavy a tube you want. Note that when you add a sheet of paper, you are not required to perpetrate any misalignment of the previous sheets - put the next one on straight, even if the previous one was crooked. Try to avoid wrinkles too, if you can. I am not doing a very good job of that here. Must be stage fright.
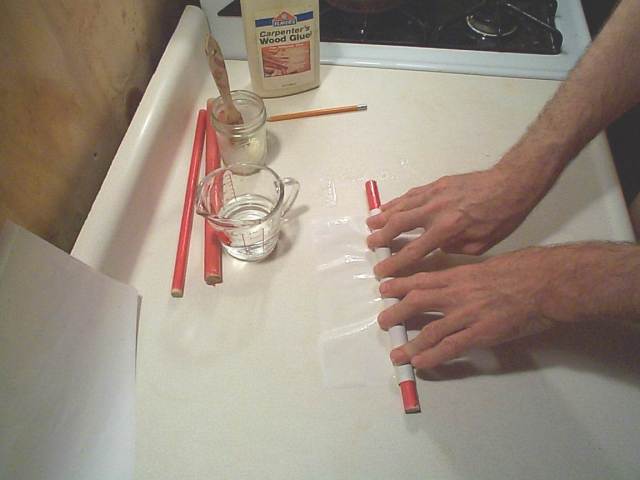
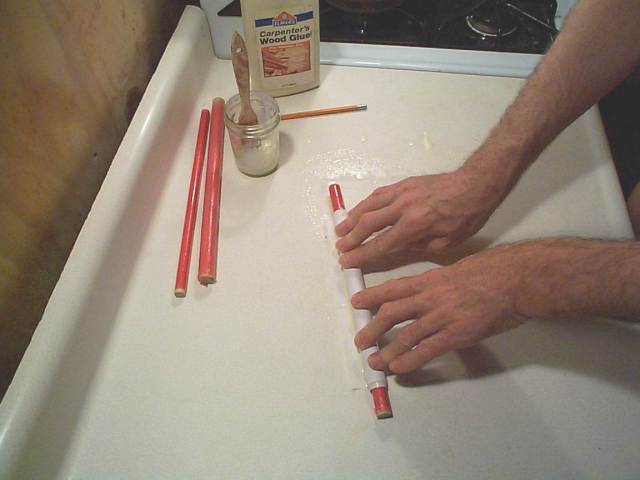
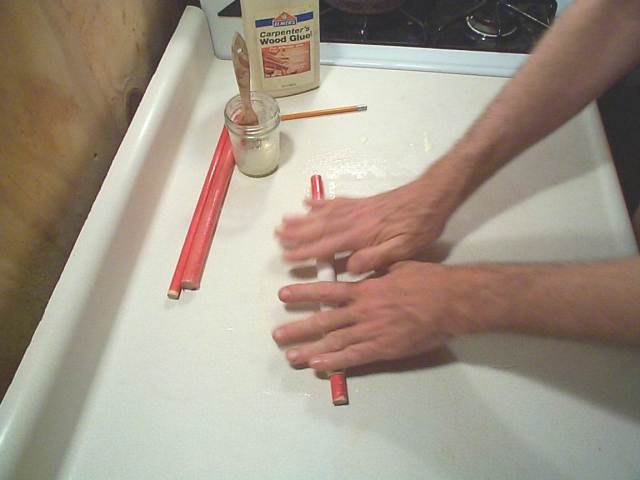
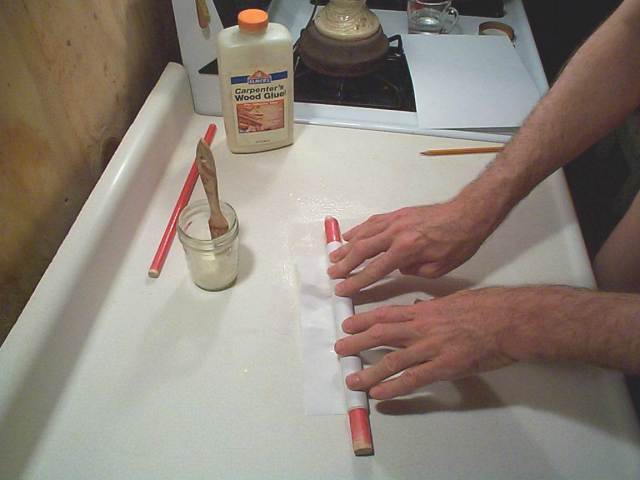
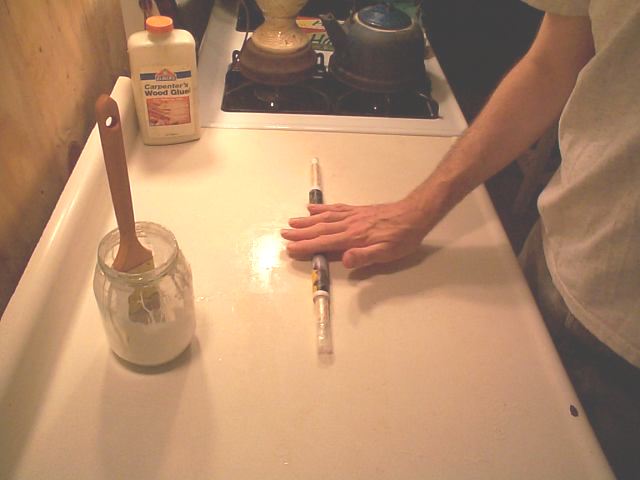
Roll the tube a few times on the counter, which by now will be covered with glue. This should even-out some of the rollings, and coat the outside of the tube.
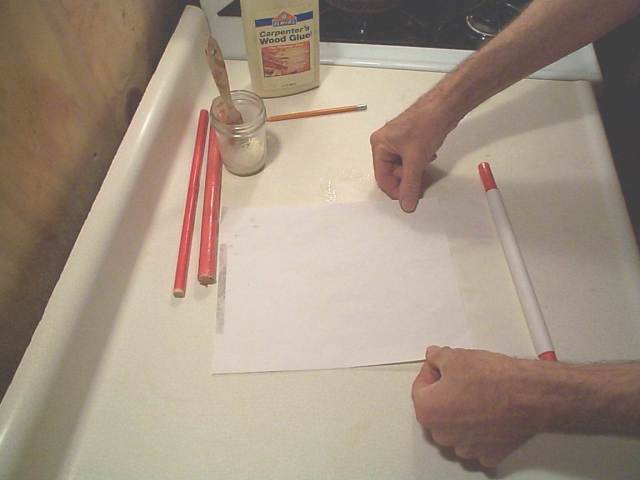
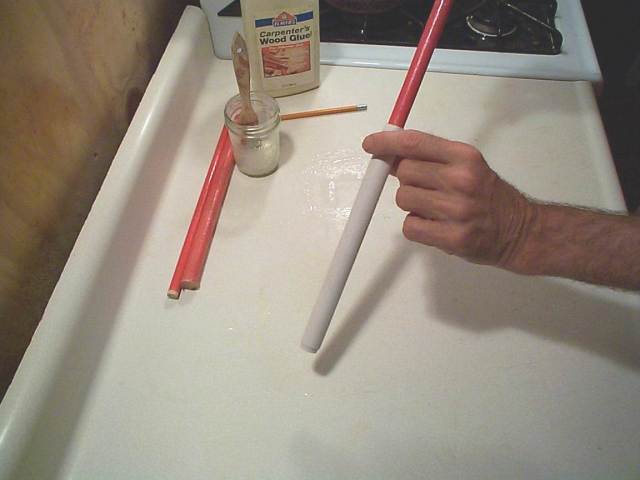
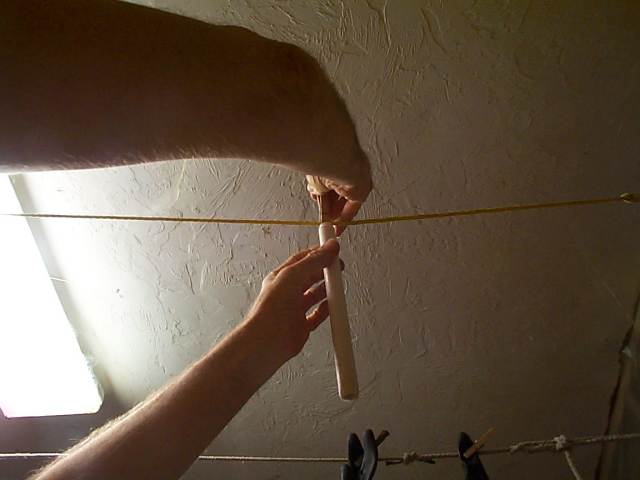
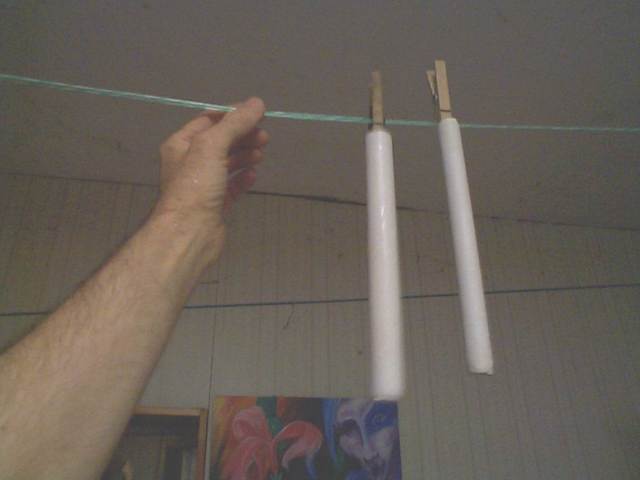
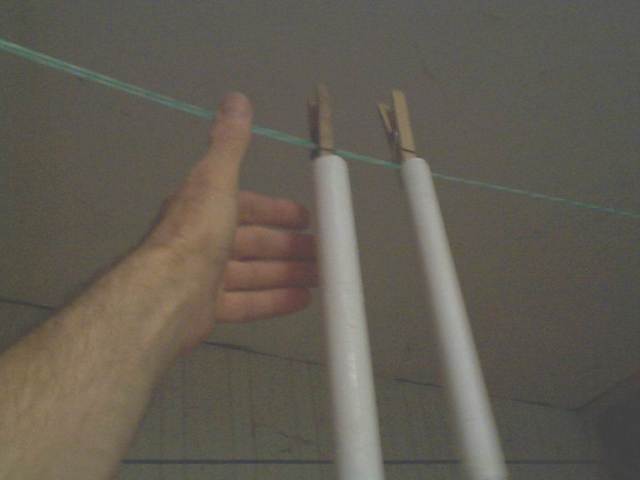
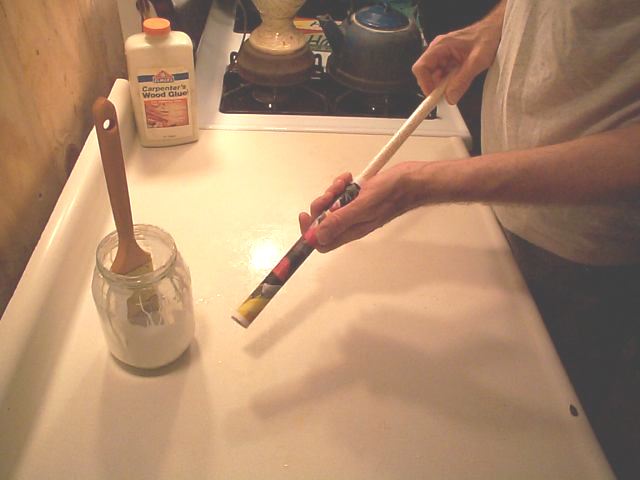
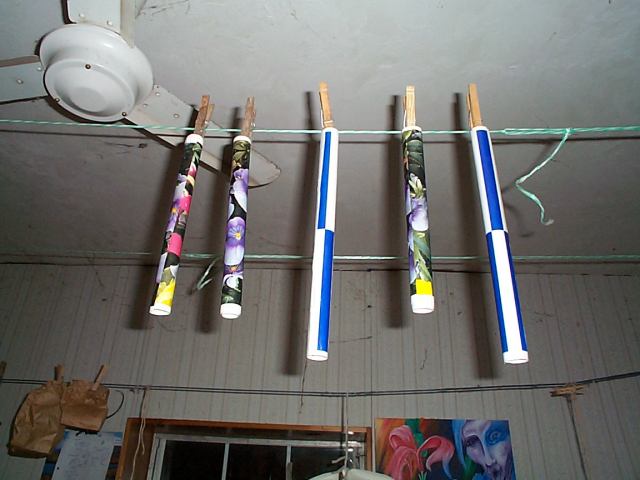
Gently slip the tube off the dowel, and hang it up to dry. Hanging keeps them straight and round. Lay them down, they dry elliptical. Stand them on end, they dry crooked. Here I am using a plain clothespin, which works OK except that it distorts the end of the tube. I should be using micro-clips or something like that. Any suggestions?
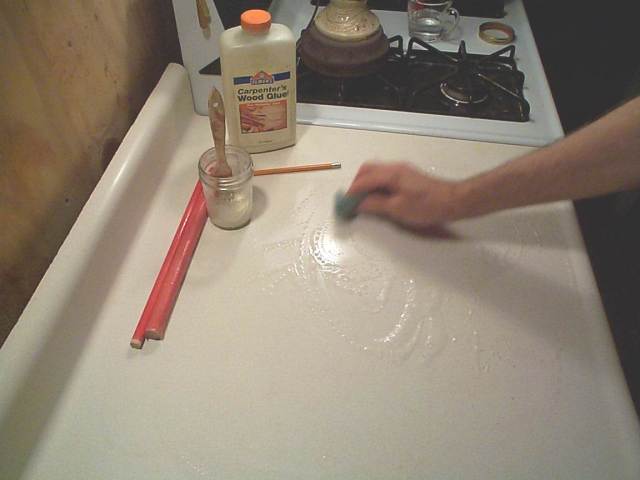
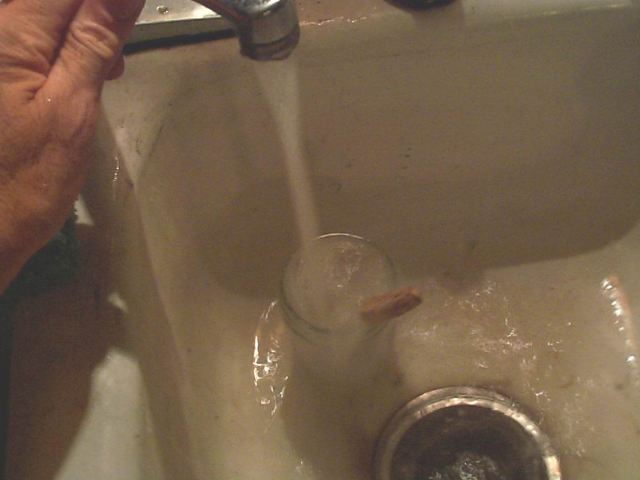
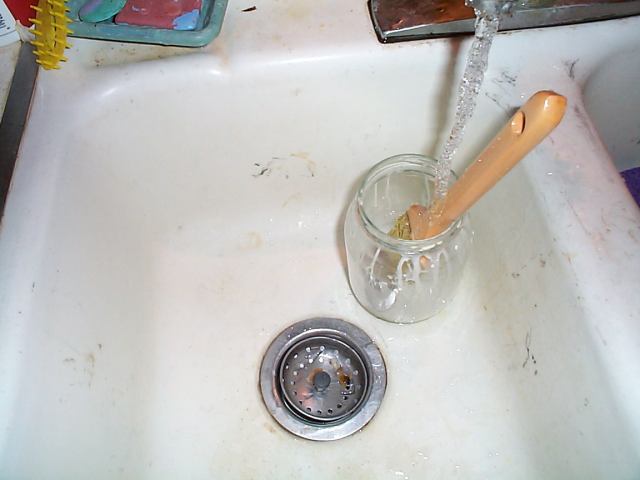
Cleanup time! The counter needs to be cleaned often during this process. In my current small kitchen I clean it between each tube. Fortunately, these glues come up easily with a little warm water. Later they will be more challenging. But mostly this obsessive-compulsiveness is to keep the next sheet of paper from sticking to the counter. In a previous home, I had the luxury of a really long formica countertop. I could make a tube, then move down a couple of feet and make another on clean counter. After four or five tubes, I could come back and clean up.
Tube #2: Same song, different verse, slightly larger form ...
Your brush can be used many times if you soak it immediately. Leave it out overnight and it is trash. This is not a good brush. I am cleaning it mostly for show.
Session II: I often salvage paper from the office that is destined for the recycle bin. I think old paper would rather die in a blaze of glory than from terrified boredom in the Big Blue, waiting for the Great Shredded.. A bit of printing seems to make no difference in the function of the tube, and I am careful not to use anything with confidential text on it.
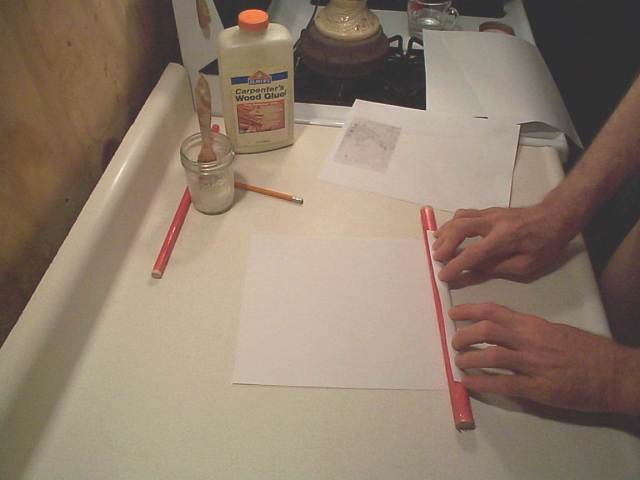
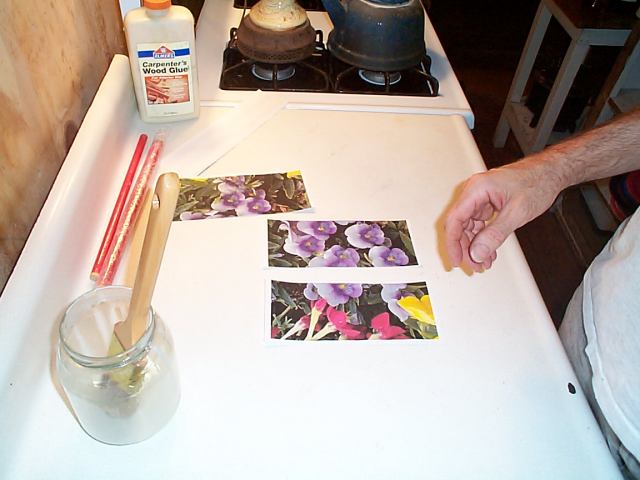
In a rare flash, I realized that I could print my own outer covering and make pre-decorated tubes! So here I have printed the alternating-stripe pattern seen on some test-rockets. I have cut it into sections to get three printed tubes from one sheet of paper.
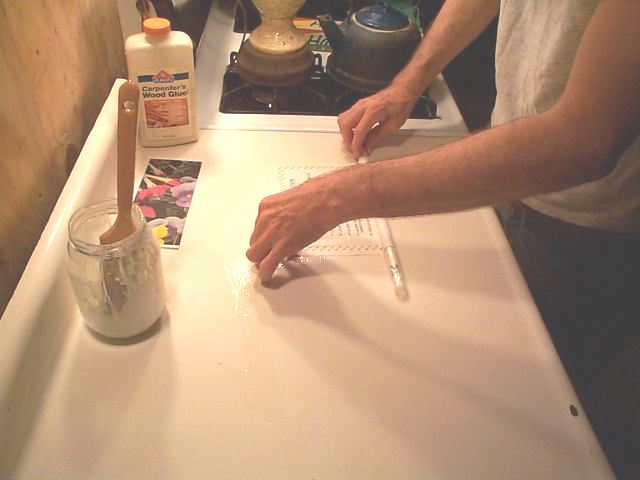
I am rolling this one the long way, to make a tube 11-inches long. All the better for model-rocket style bodies. But this is against the paper's grain - it would rather roll the long way. So to make sure it starts well, I am pre-rolling it around a 1/4 inch dowel. This gives it a curve that will grasp the 1/2 inch dowel as I start the glue-roll.

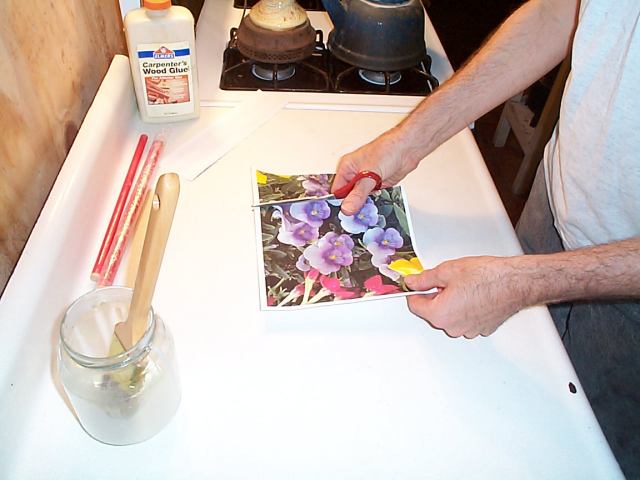
Ah! Here is a nice floral print, to augment the sweet smoke of my caramel! Since these were printed on my ink-jet, the ink is somewhat water-soluble. So I must take care not to smear the printing too much; it might become modern art and too valuable to shoot.
This is a better brush - I will use it again.
Aren't they pretty!
These tubes will be as hard as wood in a day or two. If I were in a hurry I might put them in a 200 degree oven in the morning to finish drying them out. Or put them in the back window of my car and park it in the sun. Like I used to do to dry my sweet basil, until the security people started asking questions... (It is basil! Really! Want to smell it?)
Jimmy Yawn
rev. 2/2/02