
Rocket engines made from trash
Peened Engine Tubes
Foundry
Micro
Mini
Midi
Dimples
Flight Test
How To...
Home
| Dimples
|
Cast-Nozzle IV
Rocket engines made from trash Peened Engine Tubes |
Foundry |
But another idea has occurred to me in the meantime. And it involves the childish pleasure of banging on things.
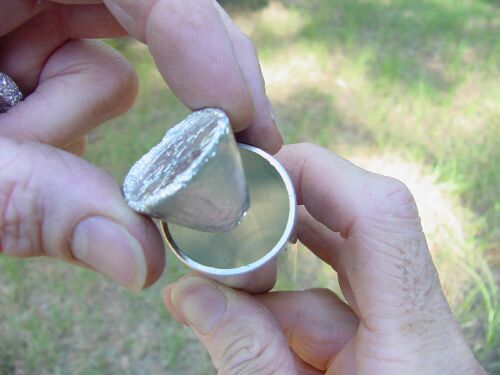
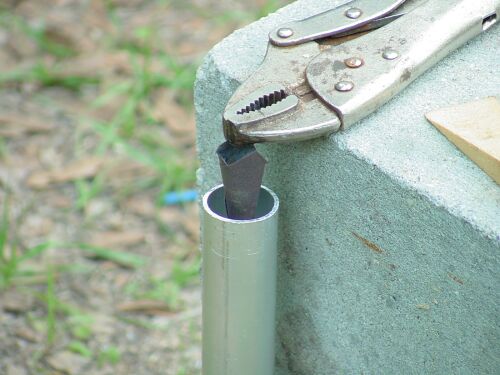
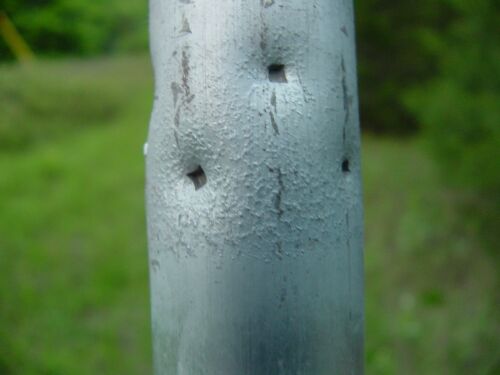
I use a hammer and crude punch to make some depressions in the nozzle area, about where the throat is expected to be. This should provide a firm grip on the nozzle. Even if gas blows by the nozzle, it will be headed in the right direction and won't incinerate my motor-mount.


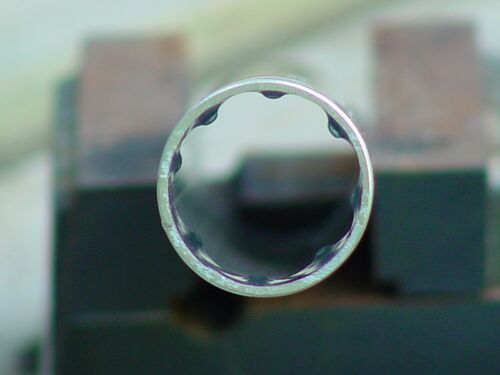
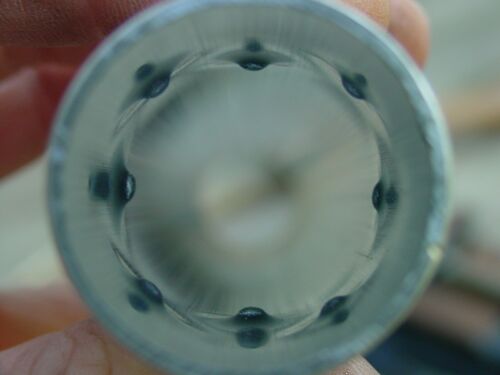
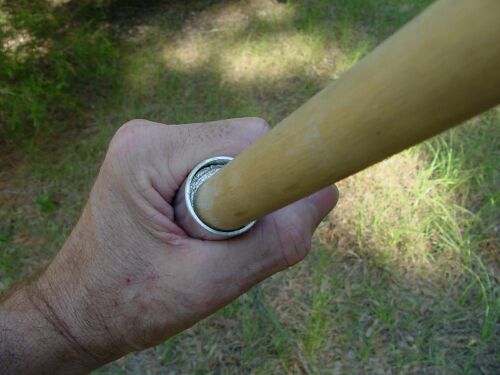
To form a converging cone inside, I make a cone of packed aluminum foil by hammering it into the nozzle Foy gave me last year. Good thing he made it out of steel. Since the cone is a bit loose in the tube, I set it over another tight flat plug that keeps it in place.


Didn't get a picture, but I placed the steel cone on top of the aluminum foil cone. This makes for a smoother casting, no little tags of aluminum foil left clinging to the converging cone. Then the diverging cone former is clamped and arranged so that it is centered in the tube. I have found it a good idea to clamp the vise-grip down to the block, as I tend to bump things around a lot.

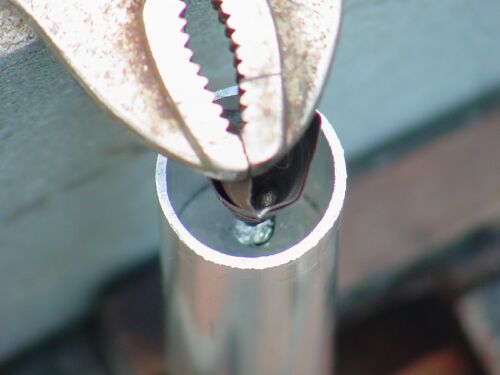
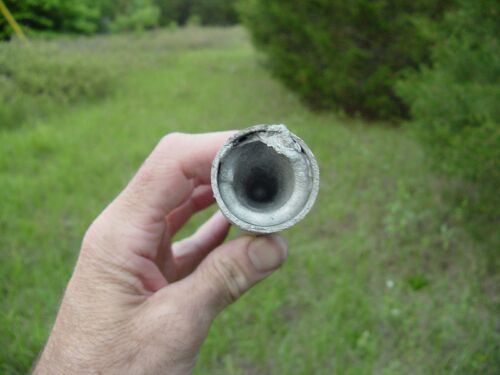
Note that the two cone-forming tubes do not touch - there is a small gap between them. This leaves a small isthmus of aluminum in what will become the nozzle throat. This is drilled-out with an ordinary bit to whatever diameter is wanted.

Click here for a video of the aluminum being
poured.
(Modem usersBeware : 1.5 meg download for 8
seconds of trivial video)
Please accept my apologies for the badly focused video. I should practice what I preach about using manual focus. But I think it is really pretty how the aluminum settles in so nice and symmetrical towards the end.
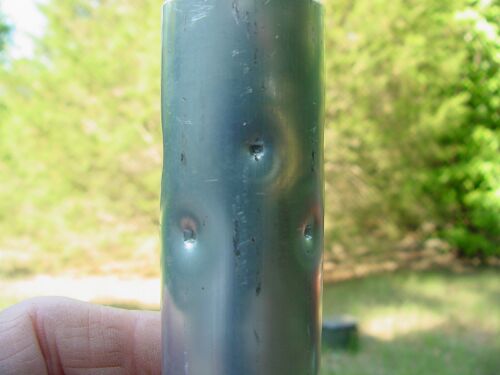
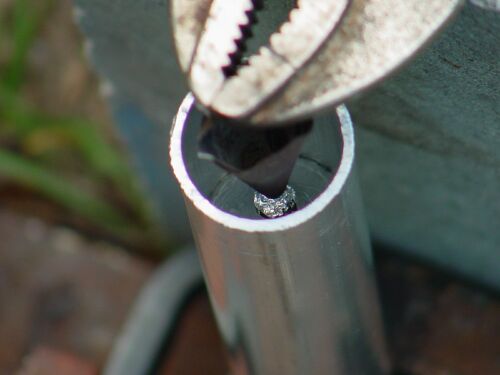
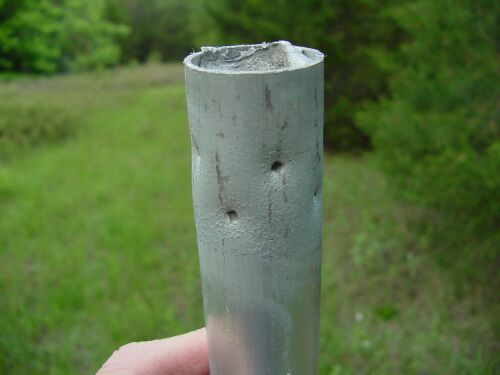
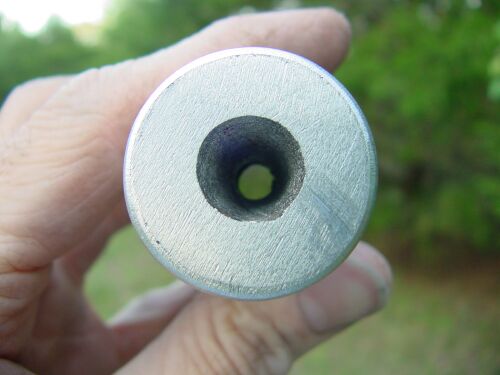
This time the casting temperature was just right*. Notice below how the aluminum tube has little wrinkles. I take this to mean that the tube was on the verge of melting, but didn't quite. Thus the nozzle should be very well bonded.
*Oops! I just noticed that the video is of another casting, not using the dimpled tubing. More apologies, but you get the drift.
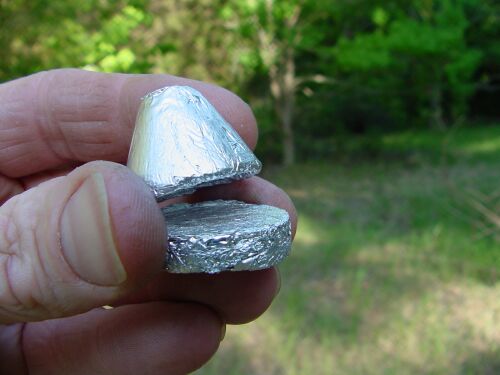
I have learned to make the casting a bit longer than I want the finished nozzle. That way I can cut off the rough end and grind it down clean. This one is fairly well centered. Not perfect, you will note, but I consider it launchable. It will be static tested a time or two first!
Since then, I have learned that the dimpling is not necessary. When done right, the thermal bond is adequate, and yields a cleaner design.
Next: How To...
Trash
rockets simplified.
The clearest presentation I can manage, shorter than most.
Jimmy Yawn
6/27/02
rev. 7/7/02
jyawn@sfcc.net