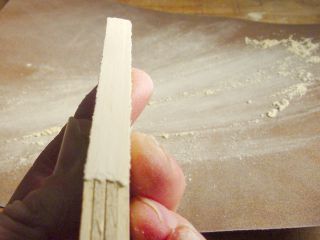
A strip of modeling hardwood is selected. It is 1.5 inches wide
by 3/32 inch thick. The best wood is maple. It is hard and
strong. Next best might be basswood. Then perhaps poplar.
If you can't get any of these, balsa will do. It is easy to
work, but not
nearly as strong.
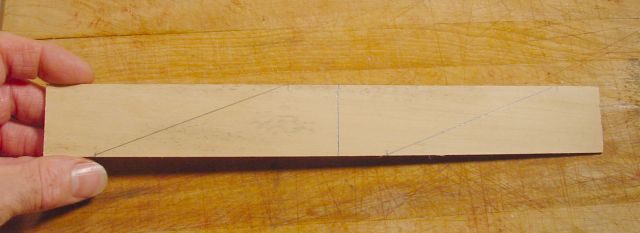
One foot is needed to make four fins. You don't have to use four fins, three are enough.
Mark it in half, dividing it into two 6-inch sections.
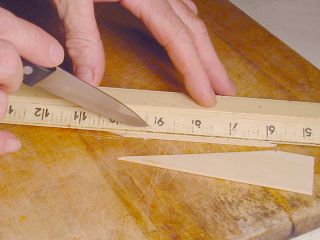
Mark a point one inch from each end, and one inch from the centerline as shown:
Connect the one-inch points with diagonal lines. These are the cut lines.
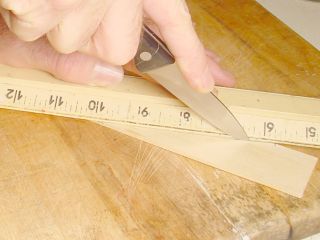
One good thing about balsa - it can be cut with a sharp knife. So
can this basswood, but it takes several heavy strokes.
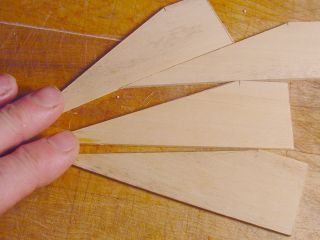
As you can see, the fins are not cut uniformly. And the root edge
is not flat. That must be fixed, as the edge must mate well with
the body tube to glue well.
The fix is a bit labor-intensive, but doable. I am the proud
owner of a cheap little belt sander which does this in a jiffy.
But it can be done quite well with just a sheet or two of
sandpaper, some manual dexterity, and lotsa elbow grease.
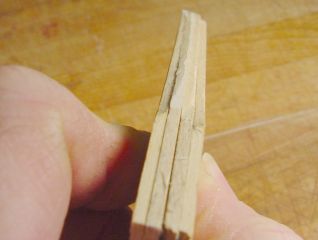
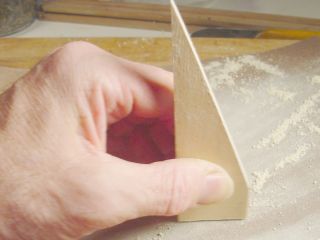
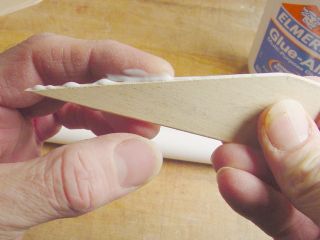
First, align the top edges and the 90-degree adjacent sides as closely
as possible. This will minimize the amount of sanding you have to
do. Pinch them together and hold them tightly so that they do not
shift in relation to each other. If you have some small clamps, this might be a good time to use them.
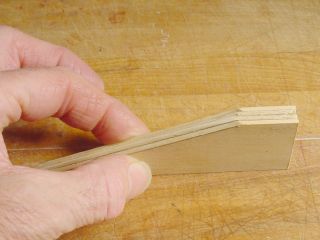
Lay a piece of 150-grit sandpaper on a flat surface, and rub the root
edge of the fin group on it until they are all flat and even.
This will take a few minutes.
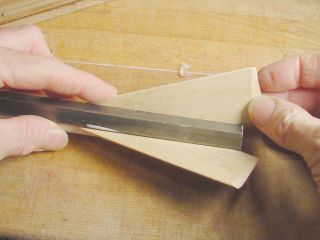
Do the same thing for the base edges, and the short edges connecting the base and the root.
Now use the sandpaper to round all the edges except the root edge of
each fin. The root edge needs to stay flat to maximize contact
surface with the body tube when it is glued.
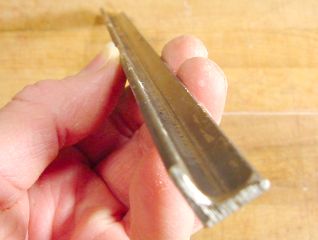
I found this steel angle iron at Home Depot, cost was only a dollar or
so for 3 feet. I can't resist any thing that is both cheap and
sturdy, so grabbed one. Bad idea. It had a garbled bar-code
tag. Homer didn't wait around long enough for me to tell him
where it came from, and apparently had to search the whole store.
I waited about 20 minutes while he tried to find it.
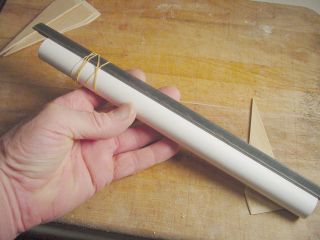
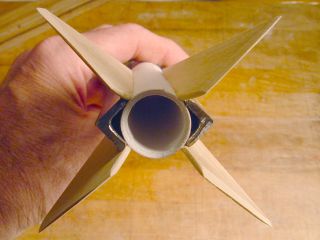
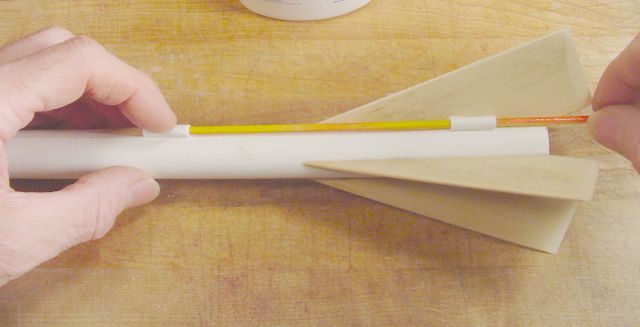
But it is just about the right size for spacing four fins around this
body tube. So I cut it into 1-foot sections. Rubber-banded
to the body tube, it makes for accurate fin alignment, much better than
eyeballing it, or using a drawn line.
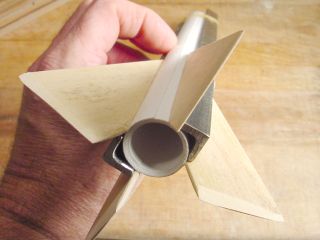
Now that the aligner is in place, I can glue a fin. A thin bead
of Elmer's is applied to the fin root. Actually, it was a thick
bead, but a finger removes most of it and spreads the rest evenly.
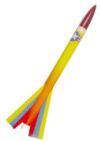
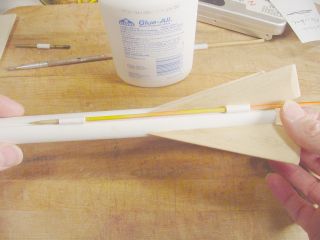
This is a very simple fin design. It is elegant in that it is
very easy to cut and shape, does not waste material, and creates a very
stable airframe. But other designs are certainly possible with
this method. Please let me know if you come up with any really
good ones!
Launch Lug. Also made from scratch.
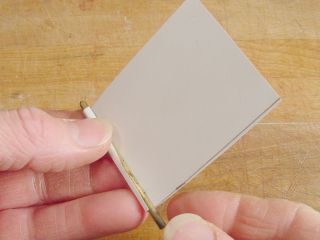
Scratch paper, that is. I cut a piece 2 inches wide, 3 inches
long, and pre-roll it on a short section of 1/8 inch brass rod.
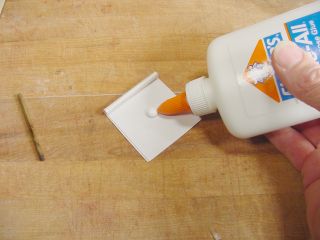
A dollop of Elmer's is spread by finger, and the paper rolled a bit loosely around the rod.
There is probably a precise way to do this, but for the moment a loose fit will do.
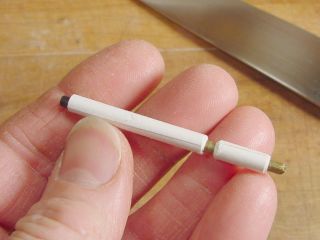
Beware that two days have passed, and the launch lug has had time to
dry. Not really. I am cutting one made some time ago.
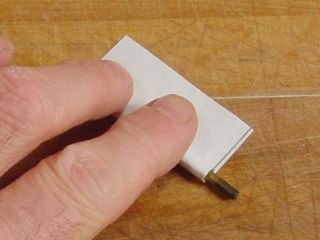
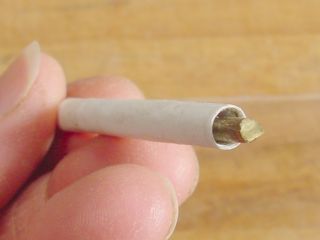
A long, sharp knife is rolled over the tube which is supported by
the brass rod, allowing a nice, clean cut to be made. Two
sections of lug tube are cut, each about 3/4 inch long.
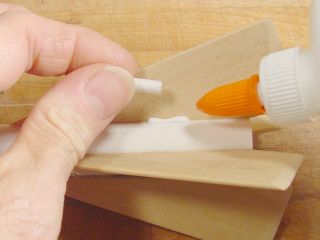
The first is glued adjacent to a fin. This gives it good reinforcement, as well as alignment.
After the first lug has set... 30 minutes or so... the second one can
be glued on using a bamboo skewer to make sure they are aligned. Sometimes I use a rubber-band
to hold the skewer down while the glue sets. In this case I just
held it for a minute then gently withdrew the skewer and didn't touch
it for awhile. Elmer's sets fast on porous
stuff, as long as you don't use too much.