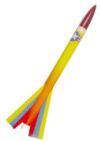
Snap Dragon
Scratch-Built Model Rocket
Part 2: Airframe Body Tube
Scratch-Built Model Rocket
Part 2: Airframe Body Tube
|
Snap Dragon
Scratch-Built Model Rocket Part 2: Airframe Body Tube |
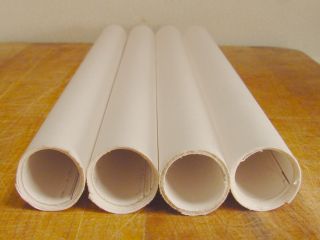 |
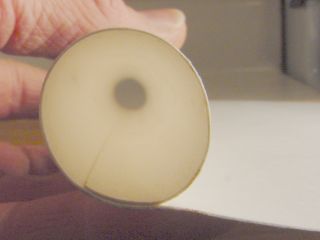
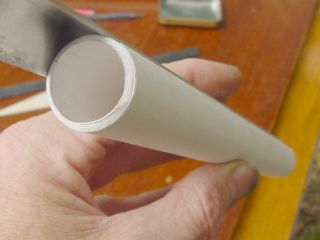
Tubes are made from posterboard, sprayed with glue, and
rolled around an appropriately-sized dowel which has been covered with
a relatively non-stick material. Inside diameter is a little over 3/4 inch, outside diameter just under 1 inch. Length is 11 inches, weight is 25 grams. It took about 5 minutes to make these four tubes, at a total cost of about 50 cents. |
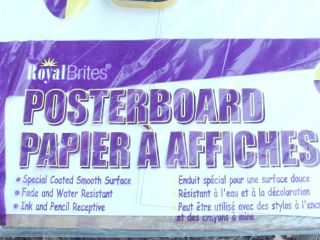 |
Primary material: posterboard.
This kind is easily available here. I can buy it at the
supermarket for $0.59 per sheet, or at the office supply store in packs
of 10 sheets for about $4.00. Each sheet is 22 inches wide by 28 inches long. Measured with a micrometer, it is 0.012 inch in thickness. One sheet will make four body tubes. I have found many uses for this stuff lately, inhibitor tubes, case liner tubes, motor casings, epoxy mixings..... Alternative: One can use plain copy paper to make tubes like these. It would take 4 or 5 sheets of copy paper to make one of these tubes. When made with Titebond glue, these are very strong, although not always very straight. |
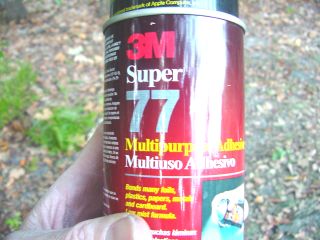 |
3M Super 77 Spray Adhesive.
Guess you could have read that from the can. This is a
medium-weight spray glue which works very well with paper and light
wood adhesion. It costs about $7.00 per can, and is available at most hardware stores here. Advantages: - Adheres upon contact. Tubes do not need to be secured while the glue dries. - Tubes dry quickly, can be used within minutes. - The solvent does not soften the paper like water-based glues do, so the tubes are much straighter and smoother. Alternatives: I have used white glue and water-based wood glues like Titebond for years in making such tubes. I still use Titebond for motor casings, as it makes for a stronger tube. 3M General Purpose 45 spray adhesive works OK. It's not quite as tacky as 77 so is a little more difficult to use for nose cones. 3M High Tack 76 is a much thicker, heavier glue that shoots out of the can in stringy blobs. It might be good for gluing plastic laminate onto countertops, but it is not suitable for this purpose. Other spray adhesives may work for this project, but these are the ones I have tested. |
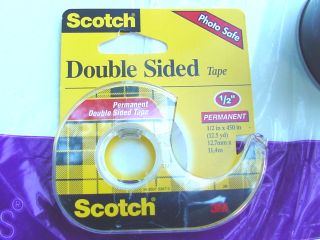 |
Double-stick tape is sticky on both sides. One of its more common uses is for mounting photographs in albums. How is it useful here? Well, Super 77 is a contact cement. It adheres immediately. If you spray any part of the posterboard that will contact the rolling dowel, it will glue to the dowel and won't slip off without a struggle. So the first turn of the roll is secured with tape instead, then the remaining posterboard is sprayed with glue and rolled up. Alternative: You can mask one side of the sheet and spray only the part that needs to be glued. This might actually be the better technique, see below. |
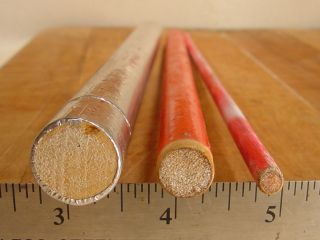 |
Dowel sizes are: 3/4 inch diameter, for making the body tubes themselves. 1/2 inch diameter, for making coupling tubes 1/4 inch diameter, for pre-rolling the posterboard The two larger dowels should be covered with something that makes them less attractive to glue. In the photo, note that the largest dowel is covered with Nashua 324 aluminum foil duct tape, giving it a metallic look. The 1/2 inch dowel is covered with red plastic-wrap. Both work OK. The 1/4 inch dowel is not covered with anything, it just looks that way. It is painted flourescent pink. I use these as stabilizing sticks for crude motor tests, and I like to be able to find them. They are hard to look at, but easy to see. |
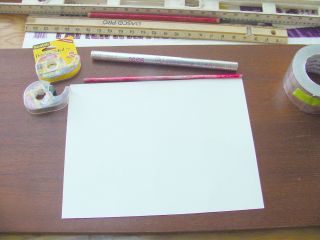 |
A sheet of posterboard is cut into four equal rectangles, each 11 inches wide by 14 inches long. Each rectangle, rolled the long way, will make one body tube 11 inches long. |
 |
It will resist. Persist. Get it curved all the
way to the edge of the paper. A smoothly curved
edge now will make a smooth, easily-rolled tube, which will not need to
be rubber-banded to hold it together. Rubber bands make little
ridges. If you don't pre-roll, you will have trouble at both ends. At the first end, there will be difficulty getting the first roll tight on the dowel, and the tube will not be size-conformal. At the finish, the final edge will want to pull away from the tube, and you will have to rubber-band it or something to make it lay down. Pre-rolling pre-empts these predicaments. |
 |
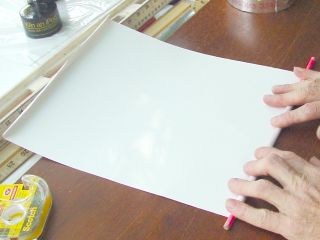
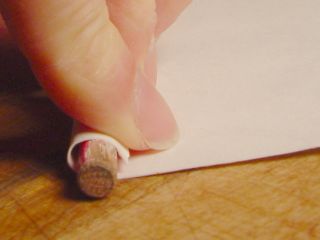
Having done all that strenuous pre-rolling, it is time to unroll one of the ends and flatten it a bit. That is so we can put double-stick tape on it. |
 |
A strip of double-stick tape is torn off just a little longer than the width of the posterboard. It is stuck to the edge, and the ends trimmed to the edge of the posterboard. |
 |
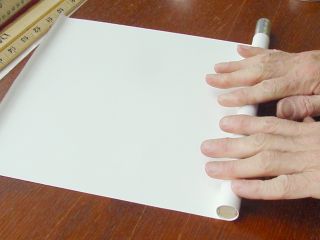
The taped edge is curled over the 3/4 inch dowel, tucked in evenly, and
the first roll made. The double-stick tape secures the first turn of the tube, making the spray-glue operation much simpler. Note that the far end of the posterboard is not properly tucked. It was the best I could do and still get a photograph. Rest assured that error was corrected before I actually did the roll. |
 |
Remove the dowel from the tube to keep it from getting glued.
The first turn is now secured with double-stick tape. It is protected from the adhesive spray. I guess you could mask the dowel with tape and not have to take it out. But I haven't tried that yet. |
 |
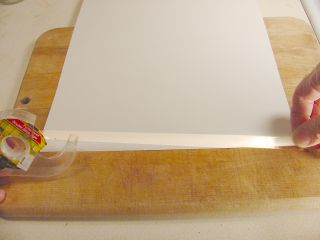
Take the paper to a spot you don't like and spray it with glue.
It doesn't take much, but do strive to get an even coating.
|
 |
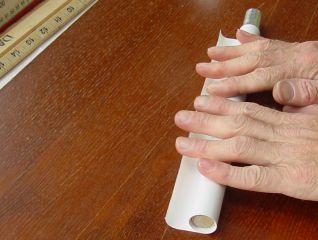
Take it back to the flat rolling-board, re-insert the dowel, and roll it up. |
 |
 |
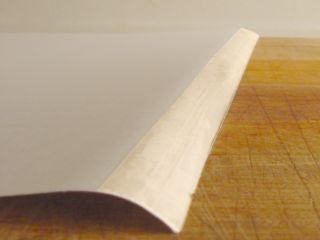
Be especially careful to get the finishing edge of the posterboard stuck down evenly and firmly. Otherwise, it will peel away and be ugly and non-aerodynamic. This is the purpose of pre-rolling that edge, so that it lays down without a struggle and sticks to the tube. |
 |
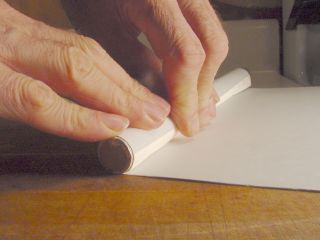
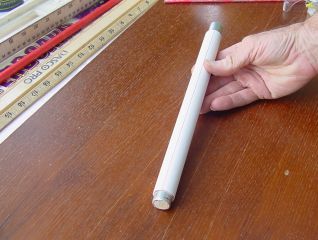
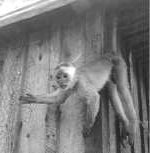
The finished tube can be worked within a few minutes. Here I am holding it to a fin-attachment guide, which is used to space out the fins at the right interval and to get them on straight. But we are getting a bit ahead here. |
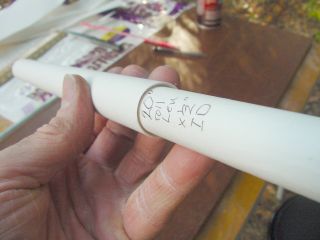 |
A smaller tube is made in the same manner, except this one is a strip 20 inches long and wrapped around a 1/2
inch dowel. 20 inches of posterboard makes for a nice fit inside the 3/4 inch tube. It
slides in with just a little resistance, so it will glue in well. This tube will be cut
into short sections to make the motor thrust-ring. Such close fits can also be used to make extended airframes, either as coupling tubes to add another 3/4 inch ID tube, or by itself to make a reduced-diameter upper airframe. But beware! Long, skinny airframes make ejection more difficult, and lawn-darts are common with this model already. |
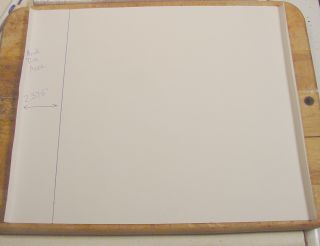 |
Just in case you don't have any double-stick tape lying around, or have a yen for doing things the old-fashioned way... You can mask the side to be rolled around the mandrel. Just draw a line 2.375 inches (2-3/8ths) from one edge. Pre-roll it and mask it with something. |
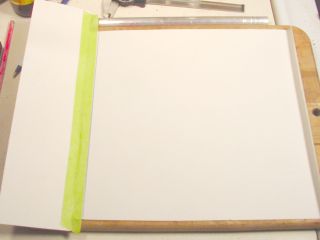 |
Here I am using a scrap of posterboard
and green masking tape. Spray the remainder with Super 77, remove
the mask, and roll it up! Starting with the unglued end, of course. Actually, now that I have tried it again I realize that this works very well. Forget the double stick tape. Make that two essential materials. |
 |
Jimmy Yawn jyawn@sfcc.net Recrystallized Rocketry rev. 12/12/05 |
 |